
I’ve made progress on my walk-in closet island, however I had a reasonably large setback yesterday as a result of I wasn’t paying consideration and spent all afternoon slicing the items for the drawers, solely to appreciate that I lower most of them the unsuitable dimension. I blame it on my mind that has a tough time with numbers and math.
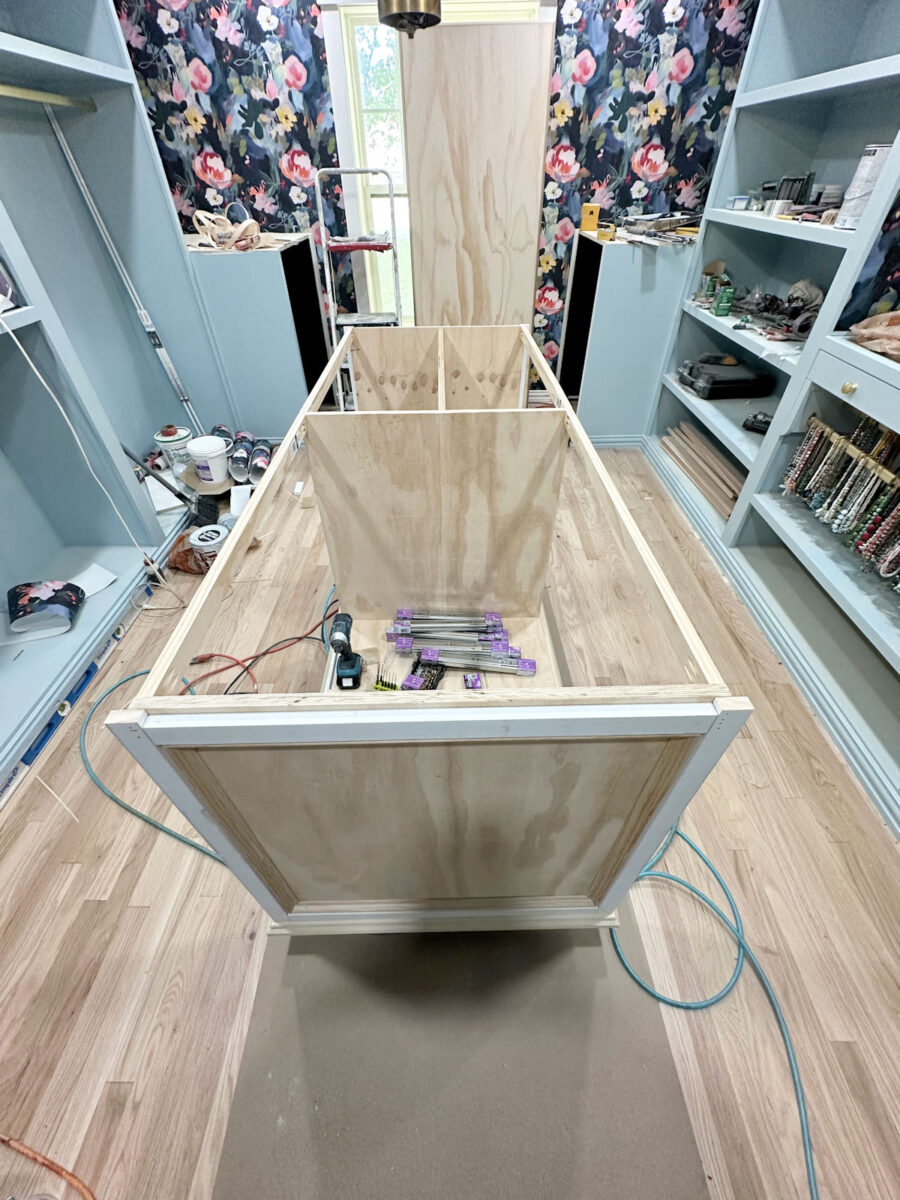
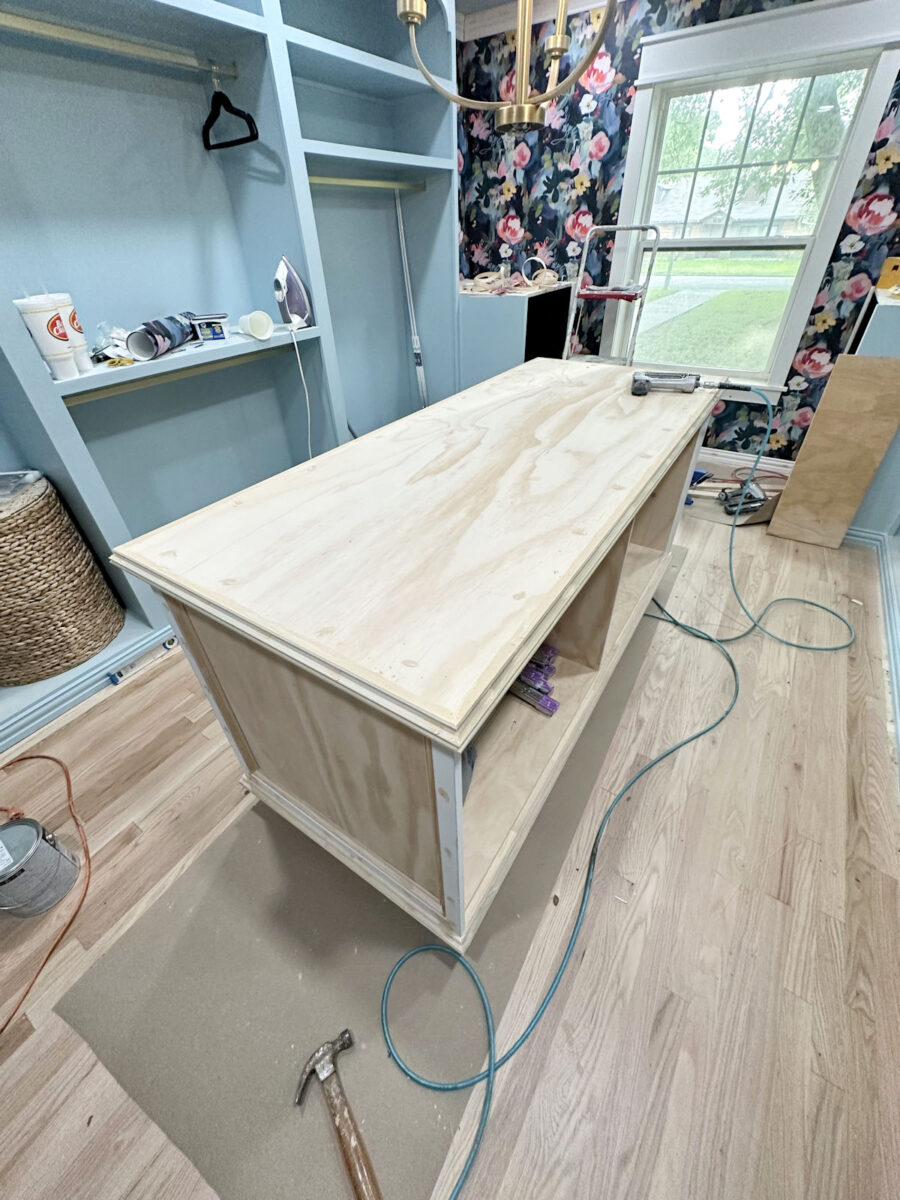
So let me again up a bit. Once I final shared my progress, the island seemed like this…
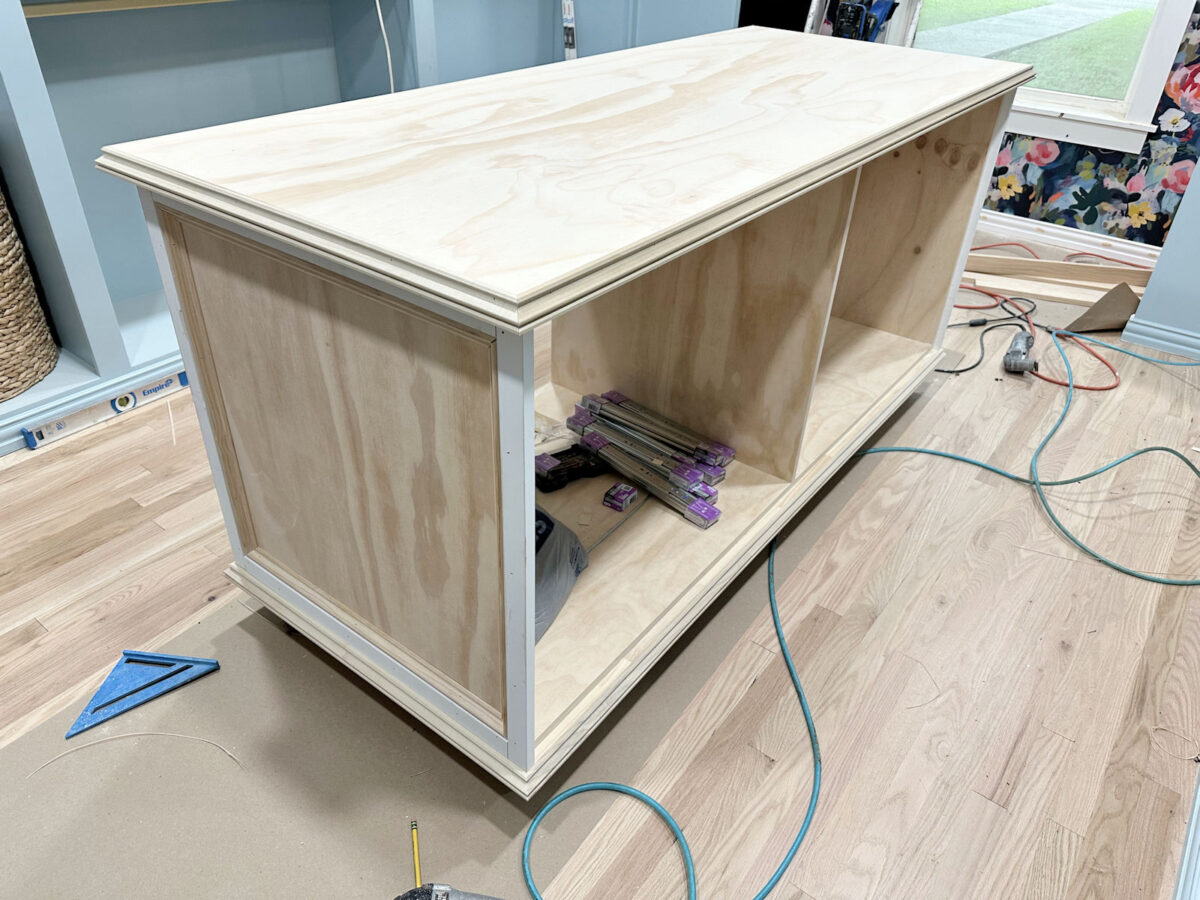
The fundamental construct seemed completed at that time, however I nonetheless wanted to take away the highest and add just a few extra items to the bottom construction. I lower items of 1×2’s to suit on the high of every opening. I drilled pocket holes in every finish of every piece utilizing my Kreg pocket gap jig, after which used these pocket holes to screw the items into the edges of every part.
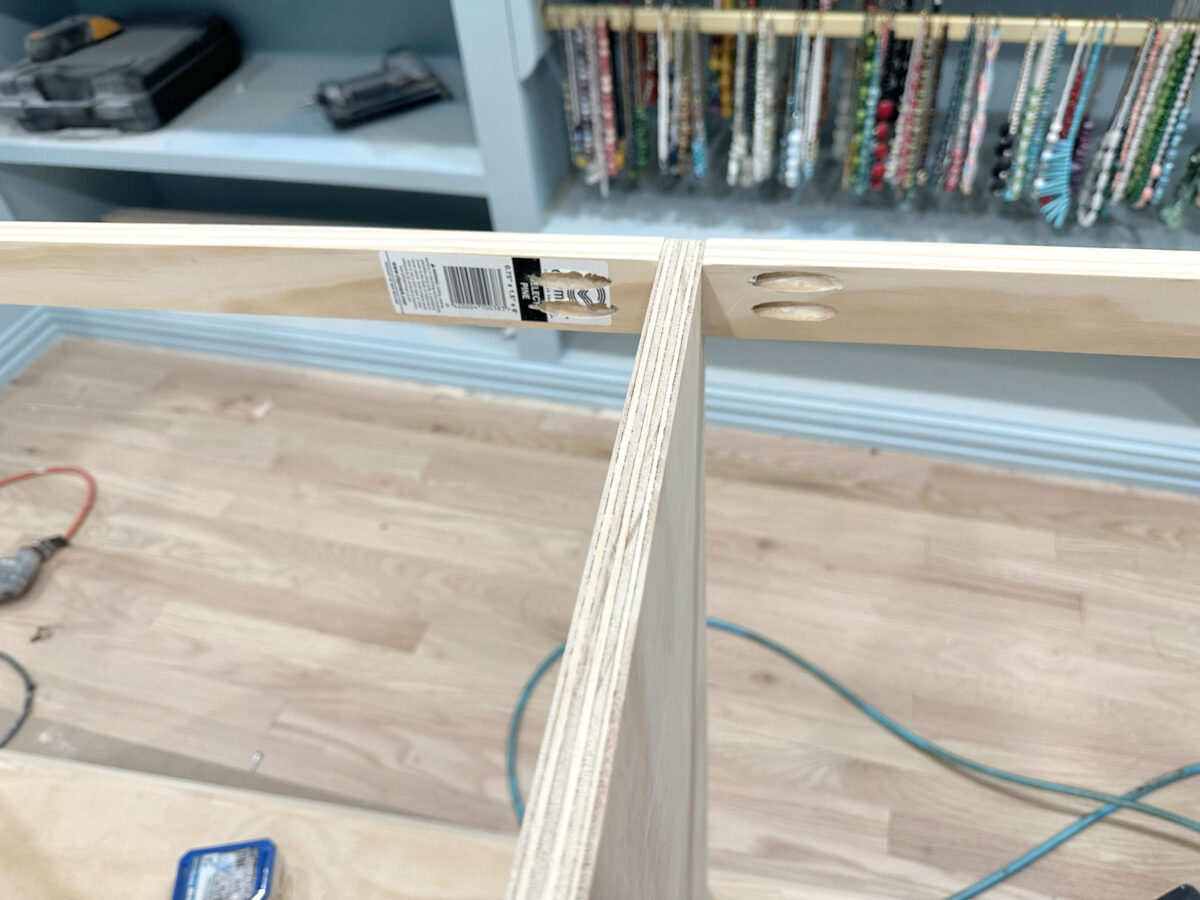
Right here’s a take a look at the place each items screw into the center divider piece of plywood.
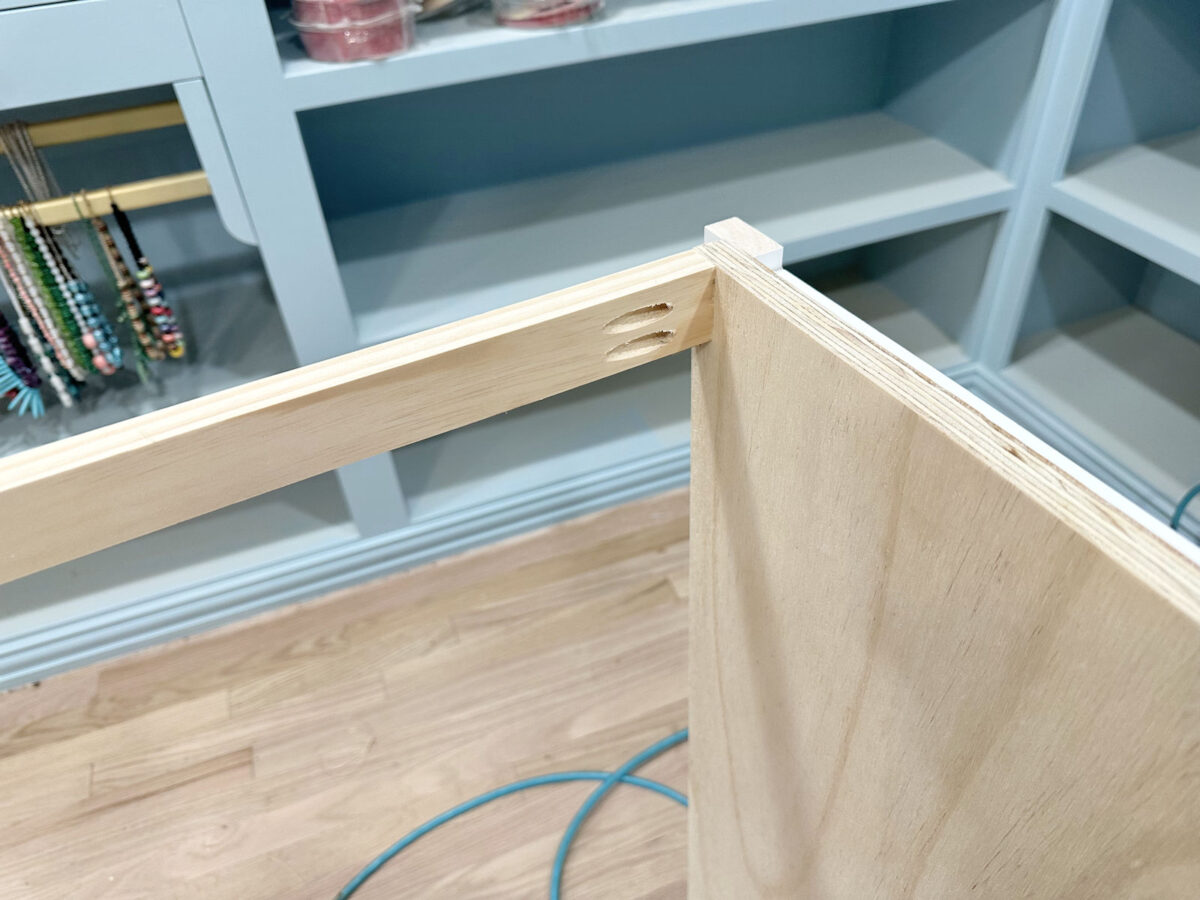
And right here’s a better take a look at the place it’s screwed into the tip piece, lined up with the plywood.
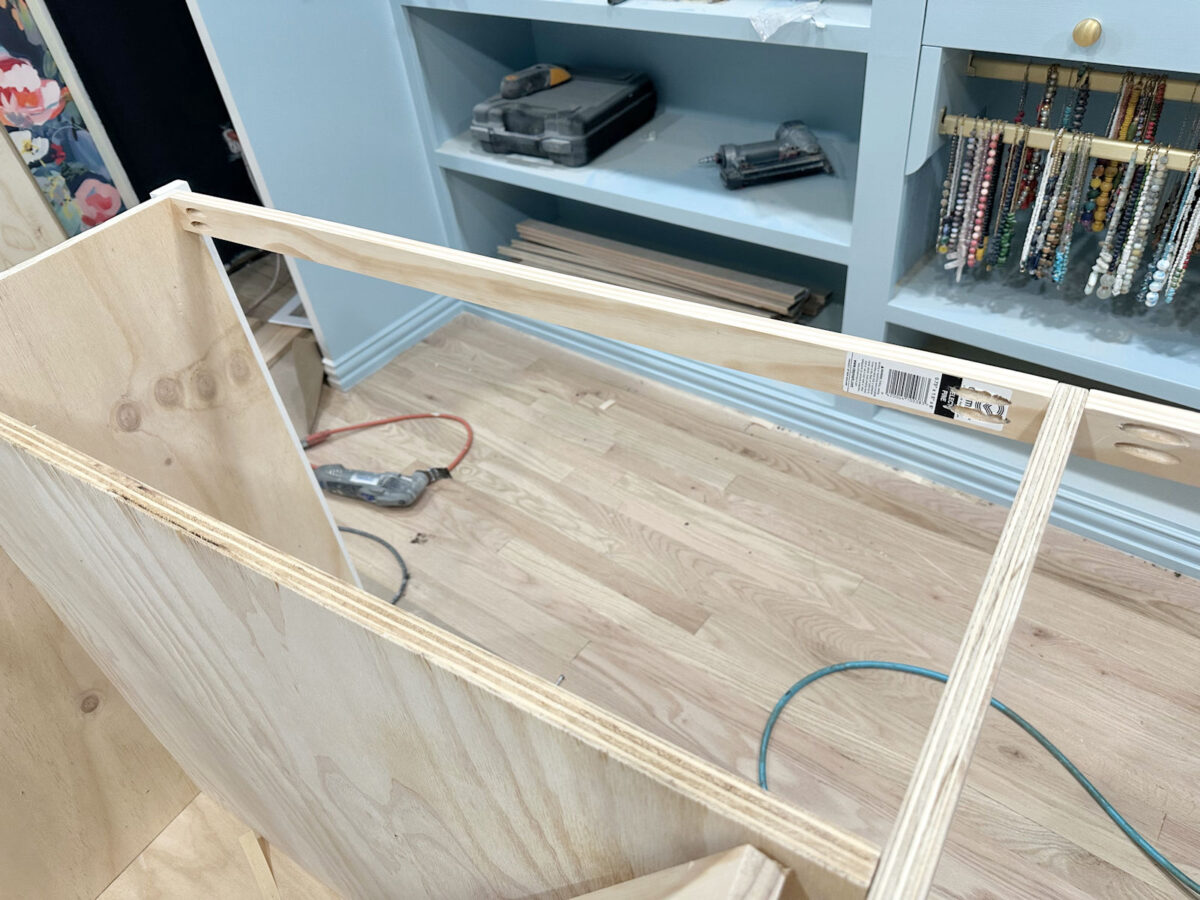
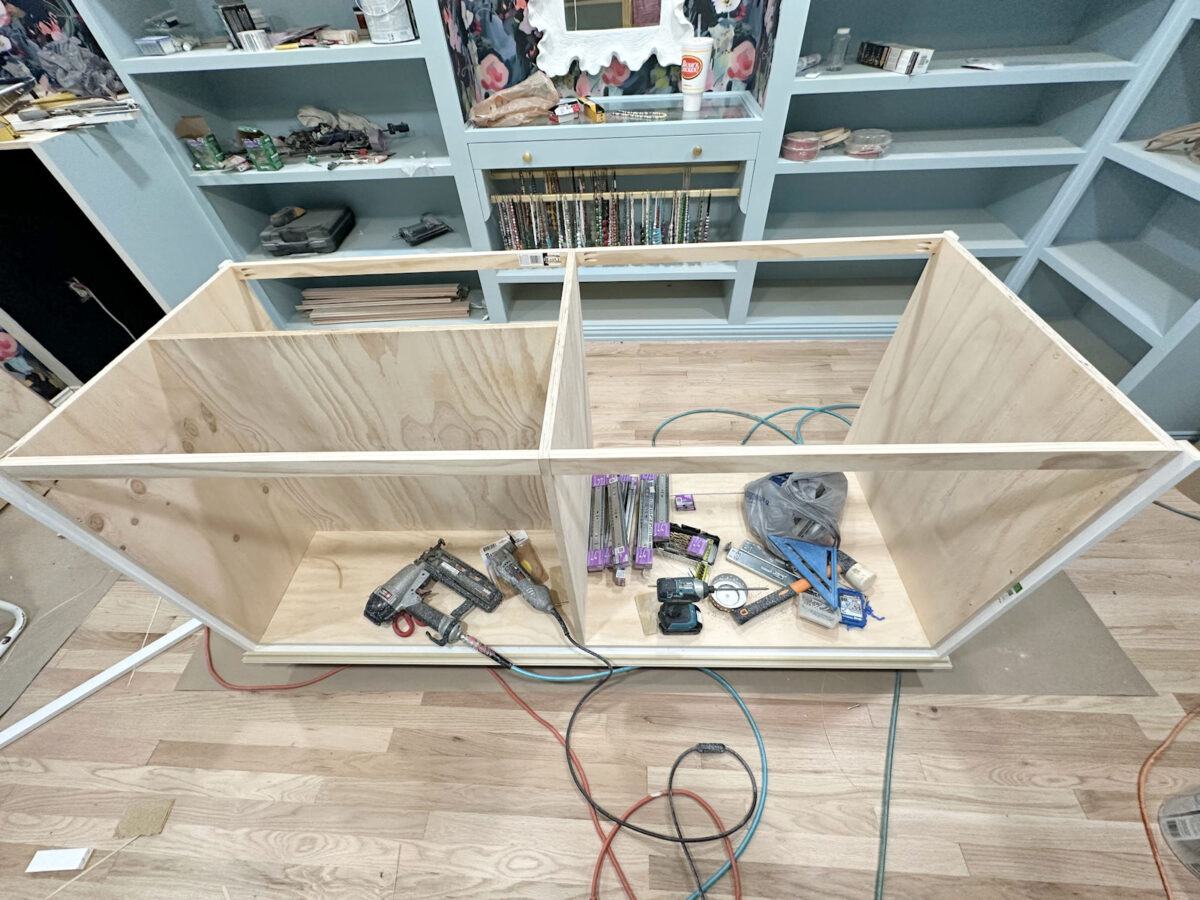
With all of these 1×2’s hooked up, it seemed like this…
Right here’s one other look from the aspect of the island…
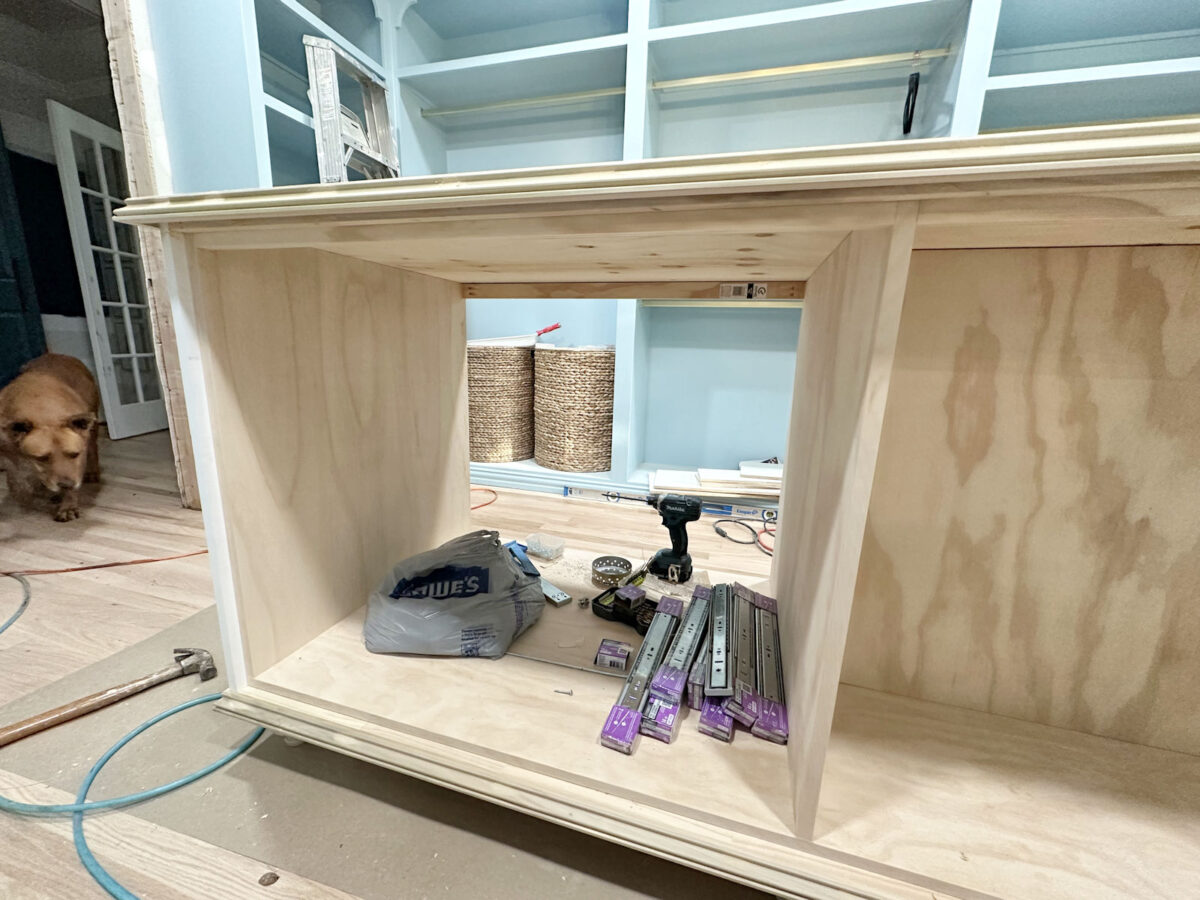
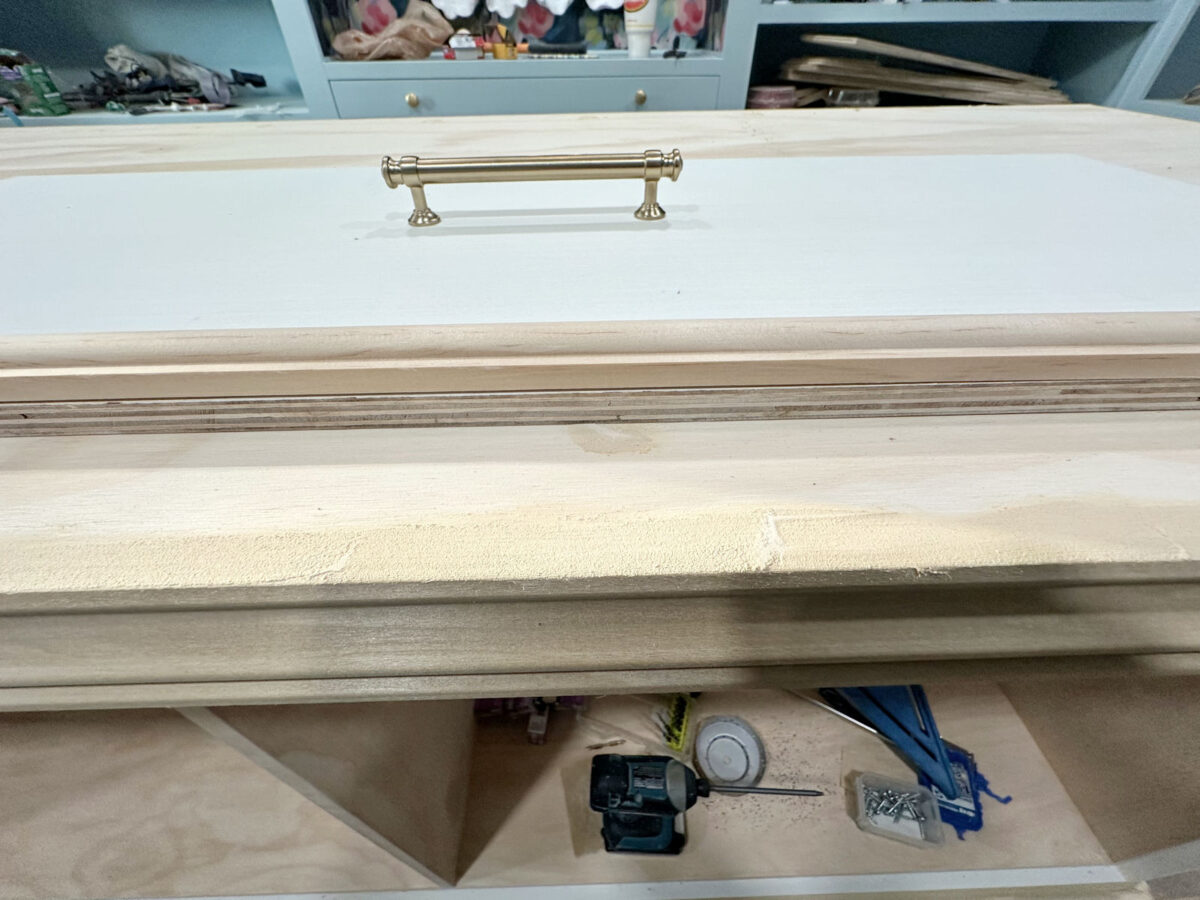
I had already created a body for the doorways and drawer entrance on the edges with the aspect trim, and on the underside with the underside trim, so now I wanted to create a body on the highest in order that the doorways and drawer fronts would look inset on all sides as soon as they’re hooked up. So I lower one other strip of three/4″ sq. trim by ripping down a 1×3 utilizing my desk noticed, and I hooked up it going all the way in which throughout the highest of the 1×2 stretchers I had simply hooked up.
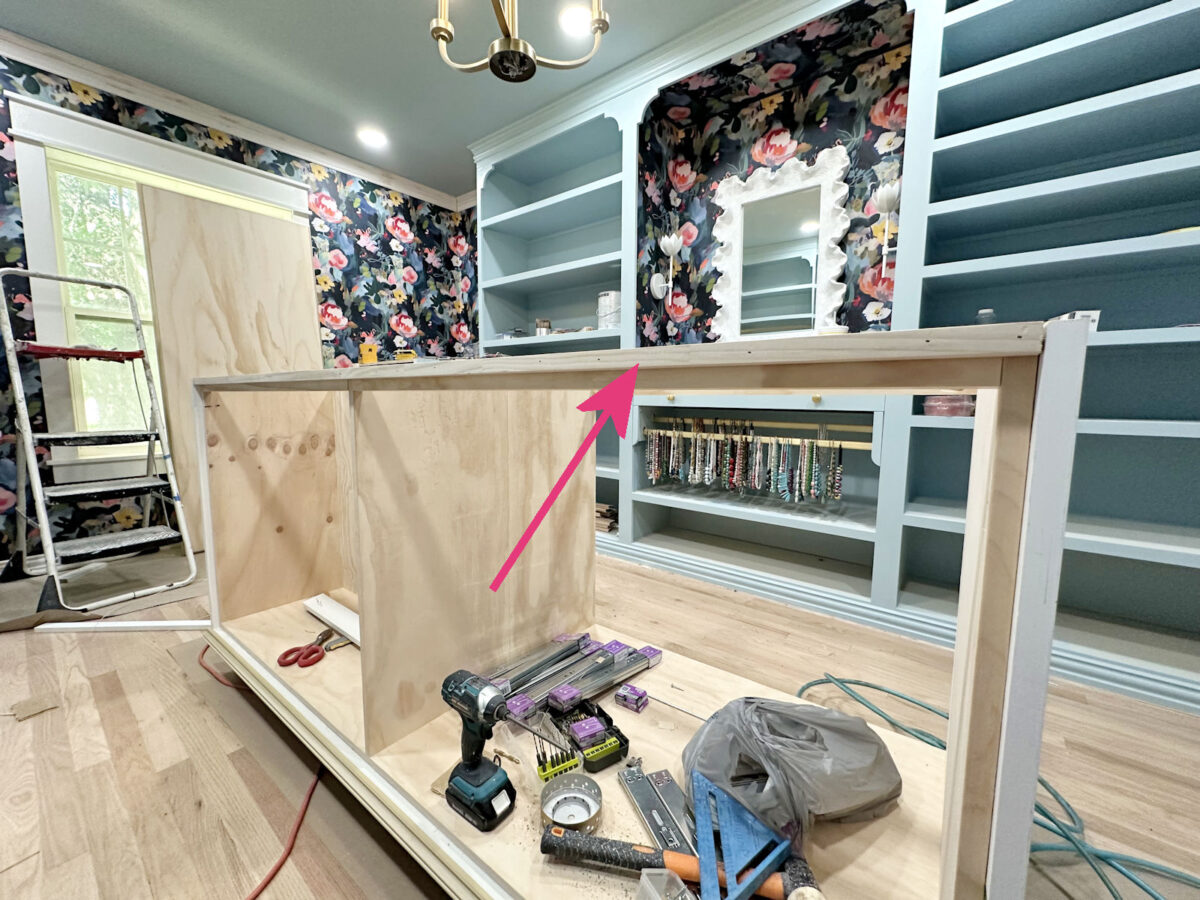
And with that piece hooked up, now you can see that the doorways and drawer fronts will sit inside that body giving them an inset look as soon as they’re on.
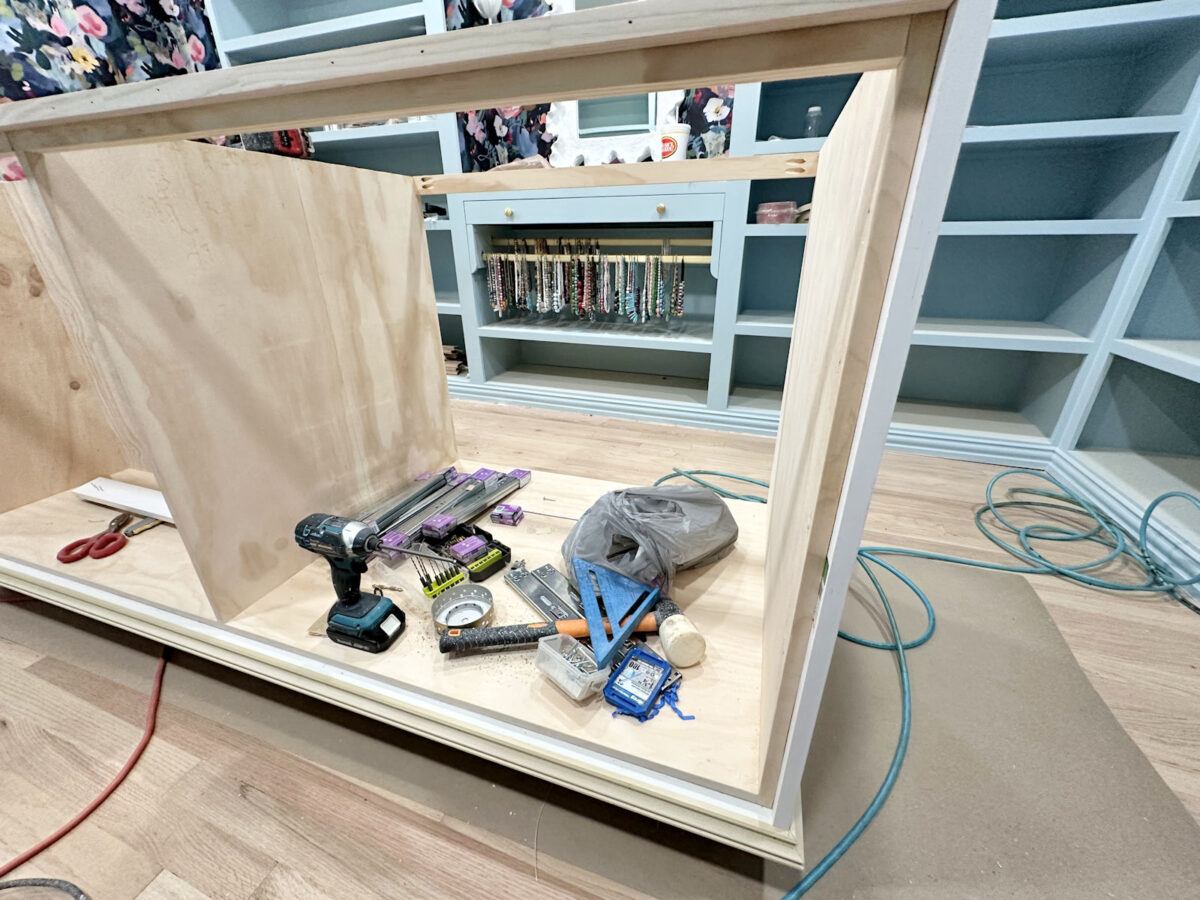
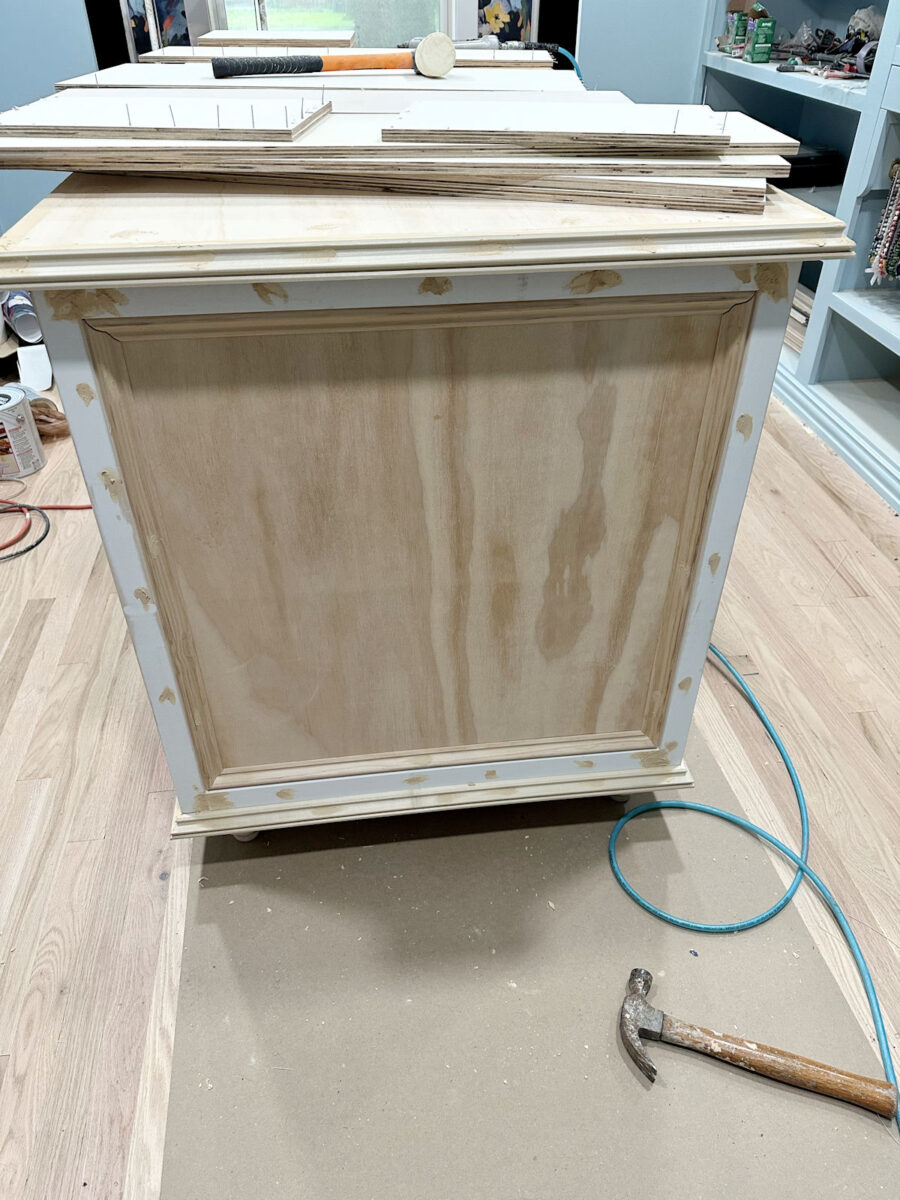
With that accomplished, I may truly connect the highest. After measuring rigorously to verify it was even all the way in which round, I simply nailed proper by the highest and into the body of the bottom to safe the highest. You may see the place I used wooden filler to fill these nail holes.
I additionally added wooden filler the place the aspect trim met the plywood high in order that when it’s sanded, it’ll be as completely clean as potential with no little cracks between these items.

Right here’s a take a look at it with the highest on. You may see that that high body piece is about 1/4″ under the countertop.
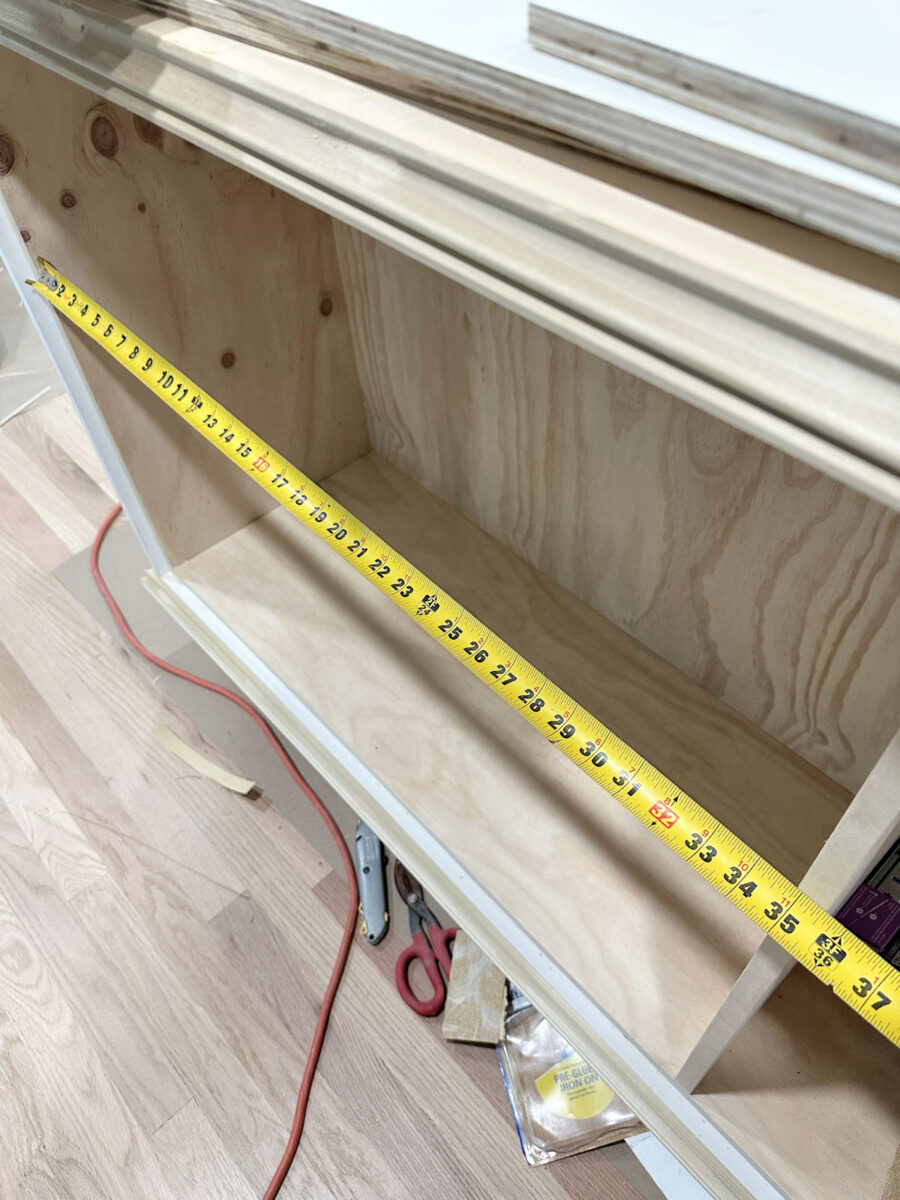
Then I used to be able to construct the drawer containers. I began by measuring the width of the opening, which was 34 7/8 inches.
These are the drawer slides I take advantage of. I’m not explicit in regards to the model so long as they’re ball bearing drawer slides with comfortable shut. You will get them at Residence Depot and Lowe’s, they usually’re all just about the identical, no matter model.
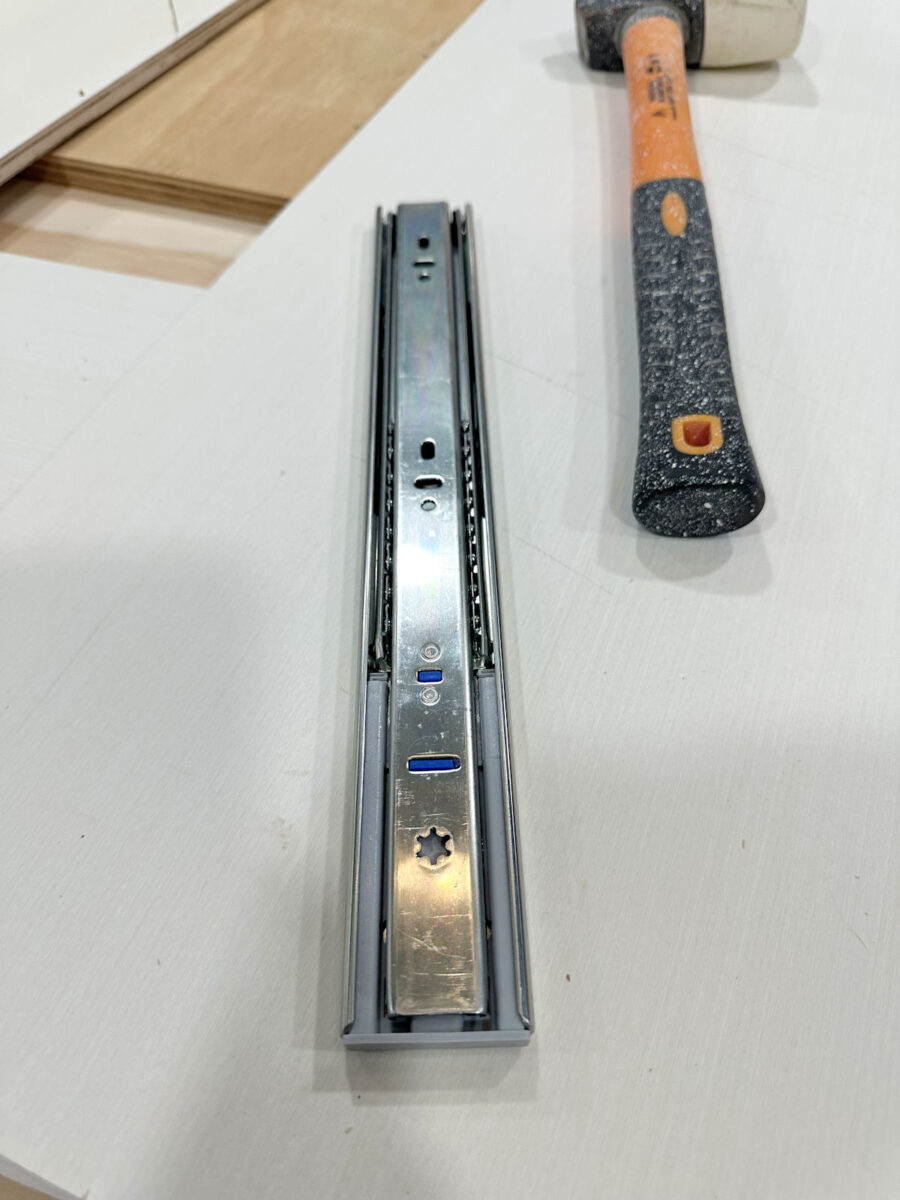
The drawer slides are 1/2 inch thick.

That ought to make it simple, proper? You’re taking the width of the opening, subtract an inch, and that’s the width you construct the drawer field. Straightforward peasy. Or at the least, it ought to be.
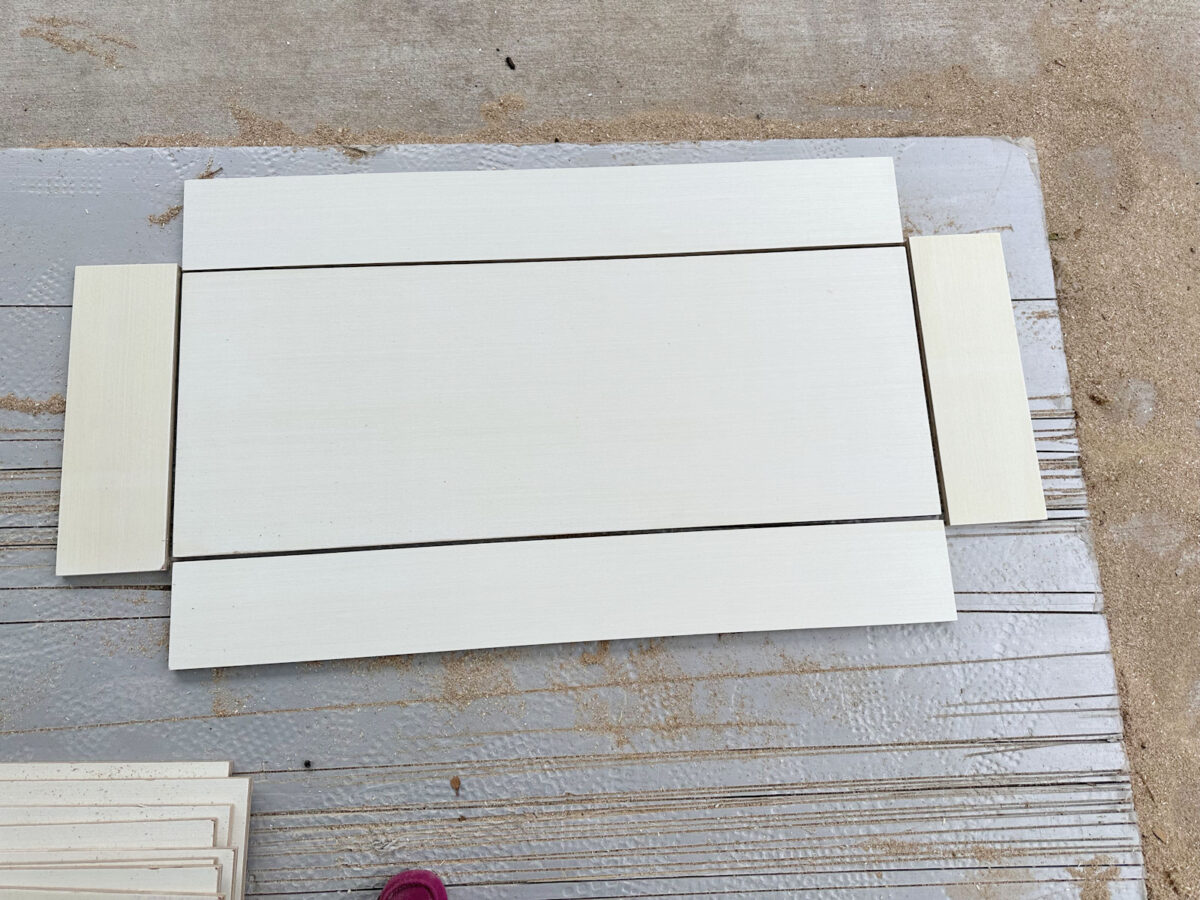
So I spent hours slicing and sanding the entire items for the drawer containers. For these, I made a decision to maintain it simple and construct absolutely the easiest type of drawer field potential. I lower one backside piece for every drawer. Then I lower two items to go on the back and front, lower to the identical width as the underside piece. After which I lower two items for the ends, lower to at least one inch greater than the underside piece in order that the aspect items would cowl the underside piece plus the edges of the back and front items. Nail all of them collectively, and you’ve got probably the most fundamental drawer field potential. No fancy cuts or fancy instruments wanted.
So I acquired every little thing lower, acquired the primary drawer field nailed collectively, after which realized that I had forgotten to subtract that inch for the drawer slides when slicing the entire backside, entrance, and again items. UGH!!!! Such a rookie mistake!!!
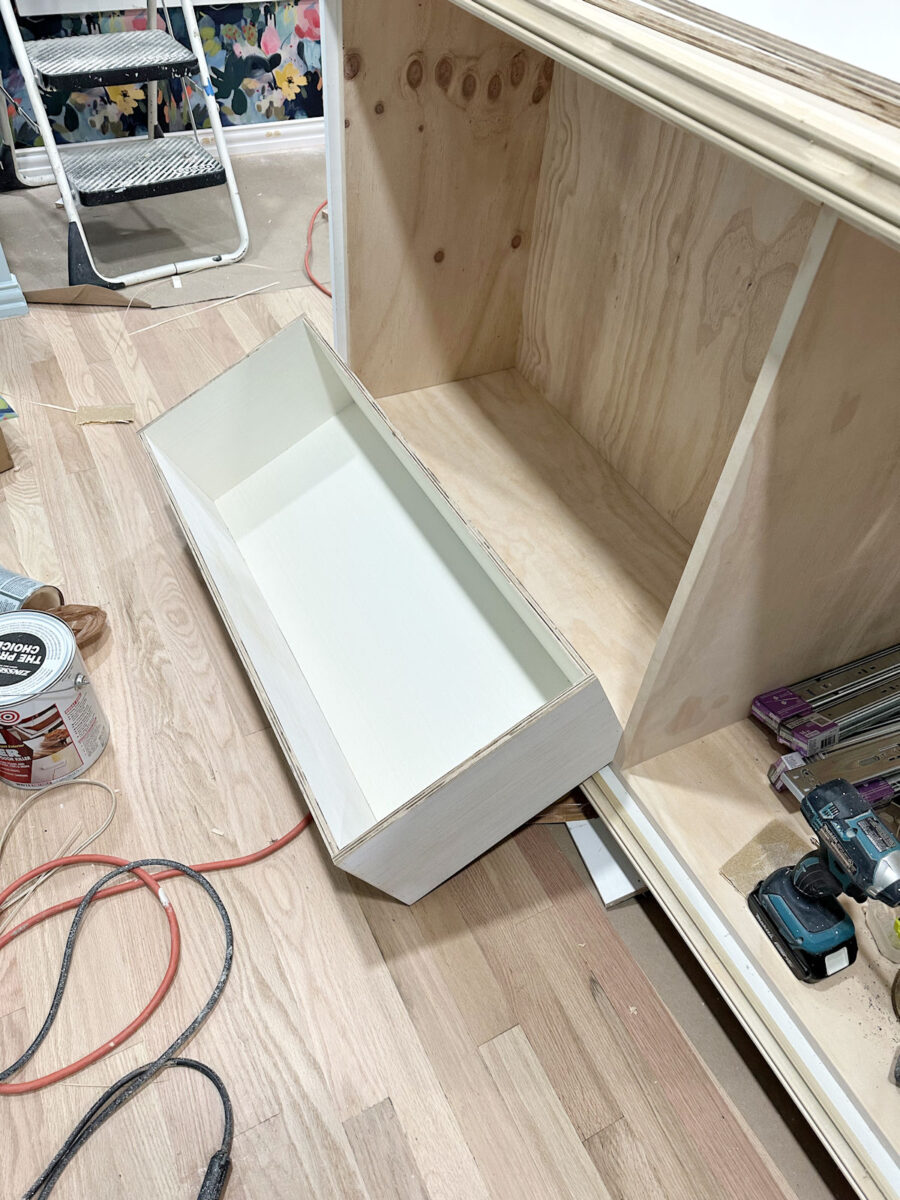
Y’all, I used to be so annoyed. Thank goodness I had solely put collectively one drawer field and determined to check it for match earlier than placing the remainder collectively. I might have ugly cried had I gotten all ten drawer containers put collectively earlier than realizing that I had lower all of them the unsuitable dimension.
It’s no large deal. I simply must spend time immediately recutting all of these items (all apart from the aspect items) to the suitable lengths (one inch shorter than they’re) and doing somewhat extra sanding, after which I can get them constructed. A minimum of I lower them too lengthy as an alternative of too quick! Had I lower them too quick, all of that plywood would have been wasted. So this can be a very easy repair, however it’s nonetheless a ache.
By the point I noticed my mistake, I didn’t have it in me to return out and repair these items. So as an alternative, I acquired the entire wooden filler on the bottom and acquired it prepared for sanding in order that I can get it primed and painted.
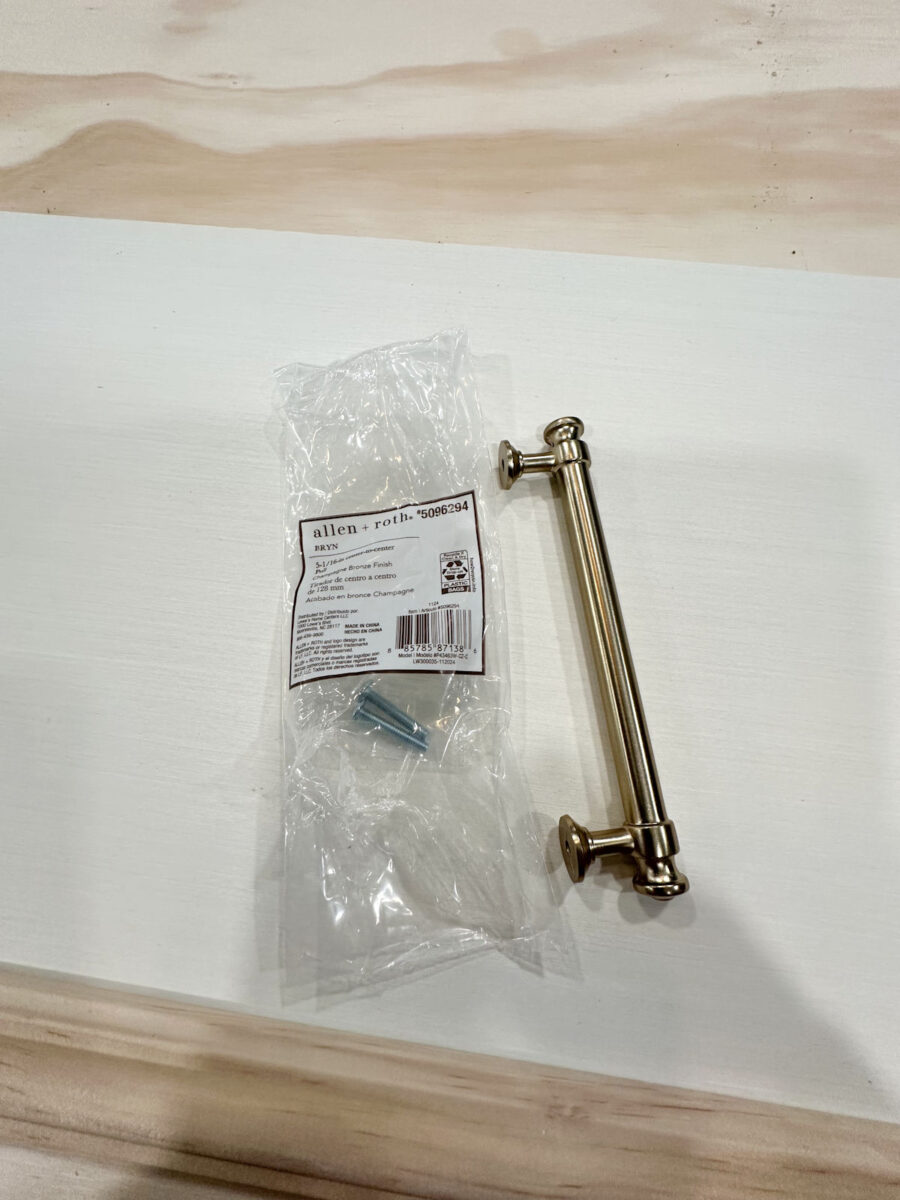
I additionally tried to determine simply precisely how I’m going to make the drawer fronts and doorways. I used to be waffling between two totally different designs, however I feel I’m going to maintain it easy. I purchased these pulls from Lowe’s.
So I feel I’m simply going to chop the drawer fronts out of 1/2″ plywood after which put some fairly trim across the edges. I’m nonetheless unsure if I’m going to make use of one pull per drawer…
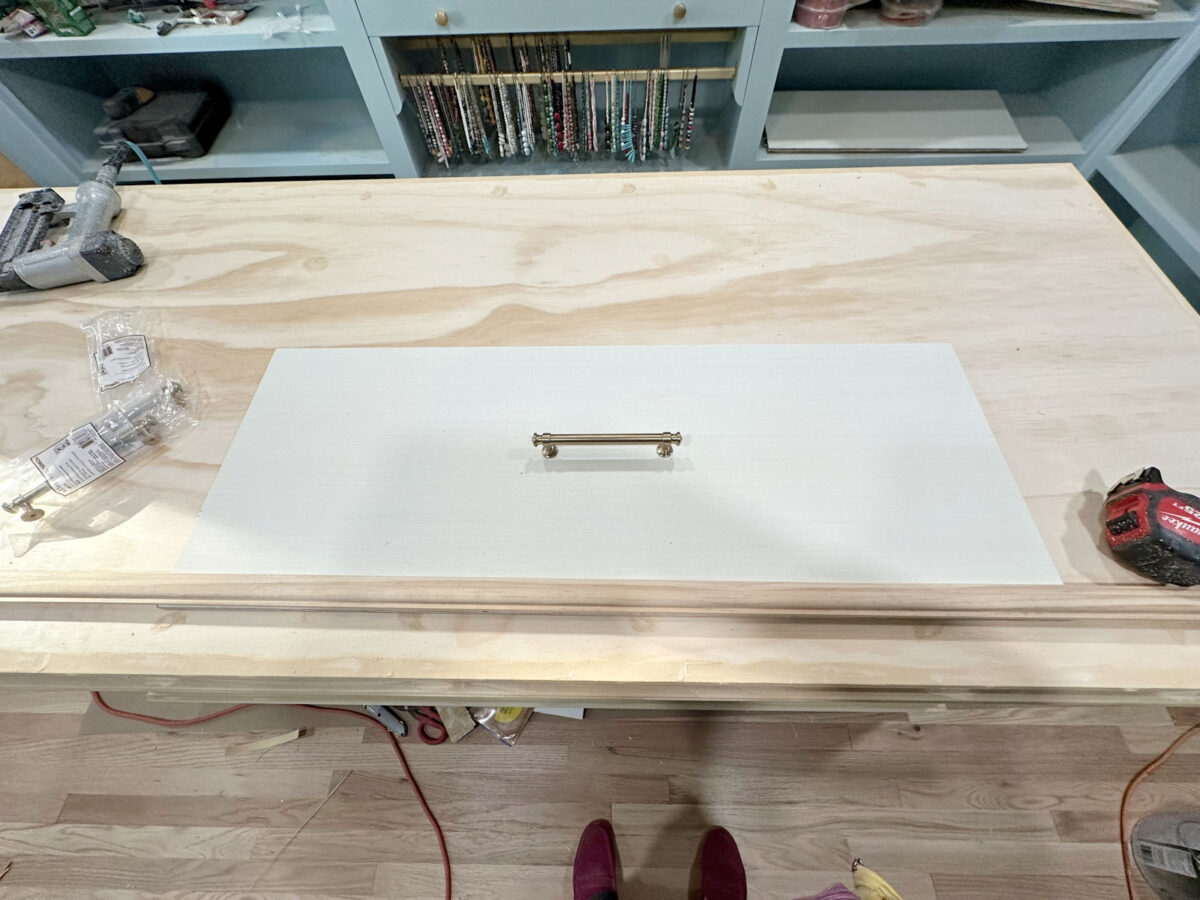
Or two pulls per drawer like this…

I’m leaning in the direction of two because the drawers are so huge (virtually 36 inches huge). And as soon as the trim is hooked up, I’ll simply end up the perimeters with some wooden veneer edge banding.
That’s the plan for now. I had so hoped that I’d be able to make drawer fronts and doorways immediately, however as an alternative, I’ve to backtrack and redo what I labored on yesterday. It’s so irritating when that occurs, however that’s to be anticipated generally. I’m attempting to present myself some grace as a result of this island might be the largest piece of furnishings I’ve ever constructed, however on the identical time, I’m so able to be accomplished with it!
Extra About My Stroll-In Closet/Laundry Room

see all walk-in
closet diy initiatives

learn all walk-in
closet weblog posts

Addicted 2 Adorning is the place I share my DIY and adorning journey as I transform and embellish the 1948 fixer higher that my husband, Matt, and I purchased in 2013. Matt has M.S. and is unable to do bodily work, so I do the vast majority of the work on the home on my own. You can learn more about me here.
Trending Merchandise

UpCircle Rodillo de ojos 1 pieza – Para...

ESSENCE BRILLO DE LABIOS VOLUMINIZADOR WHAT T...


COSRX Advanced Snail 92 All in One Cream, 100...


