
An entire lot of my DIY course of is trial and error, and loads of time, there’s an entire lot of error. However I’m typically okay with the errors as a result of they assist me to study and preserve my mind in drawback fixing mode. Generally (perhaps even more often than not), I can work by the errors and provide you with an answer to the issues. However different occasions, I’ve to scrap an concept and provide you with one other concept altogether. Both manner, I nearly at all times benefit from the course of as a result of I really like studying, and I really like the problem of working by issues after they come up.
With that mentioned, I’m nonetheless engaged on my entryway console. I nonetheless don’t have all of it found out, however what I do know for positive is that I’m going to finish up with a console desk that I really like. I gained’t cease till I’m there. Y’all know me nicely sufficient to know that by now. And with our present wet climate that forestalls me from engaged on my outside tasks, that is the right time for me to have enjoyable with this venture till I get it proper.
First, let me deal with one factor from my last post about this console table. I discussed in that submit that the person on the Benjamin Moore retailer had instructed me to wipe down the complete factor with acetone after which strive the gel stain. After which I discussed that I skipped that step. I’ve by no means seen such a backlash in my feedback over one among my choices earlier than. Heck, I even acquired one “disgrace on you”. 😀
Properly, the explanation I didn’t use acetone is as a result of I didn’t suppose it was wanted. He was recommending that with out having ever seen my console desk. And once I instructed him it was waxed, I feel he most likely pictured one thing in his thoughts just like the items which are bought at resale shops the place individuals purchase outdated furnishings, paint and wax them in a short time, after which resell them at a revenue. Most of these DIYers flip these items out in a short time in an effort to make as a lot revenue as potential. I’ve been in these shops. I’ve seen these items. I’ve felt these items with all of that waxy buildup the place I’ve thought to myself, “Did you even buff this factor?” You possibly can actually run your fingernail over these items and get wax underneath your fingernail.
My console desk wasn’t like that. Not solely is it an older piece that has been cleaned many occasions through the years, which removes a little bit of wax every time, however I buffed the heck out of it once I waxed it. So I knew that it didn’t have a lot wax on it to start with. The colour that was creating the issue wasn’t coming from the wax. The orange colour was coming from the stain that I used earlier than I waxed it. It’s the stain that’s the issue, not the wax.
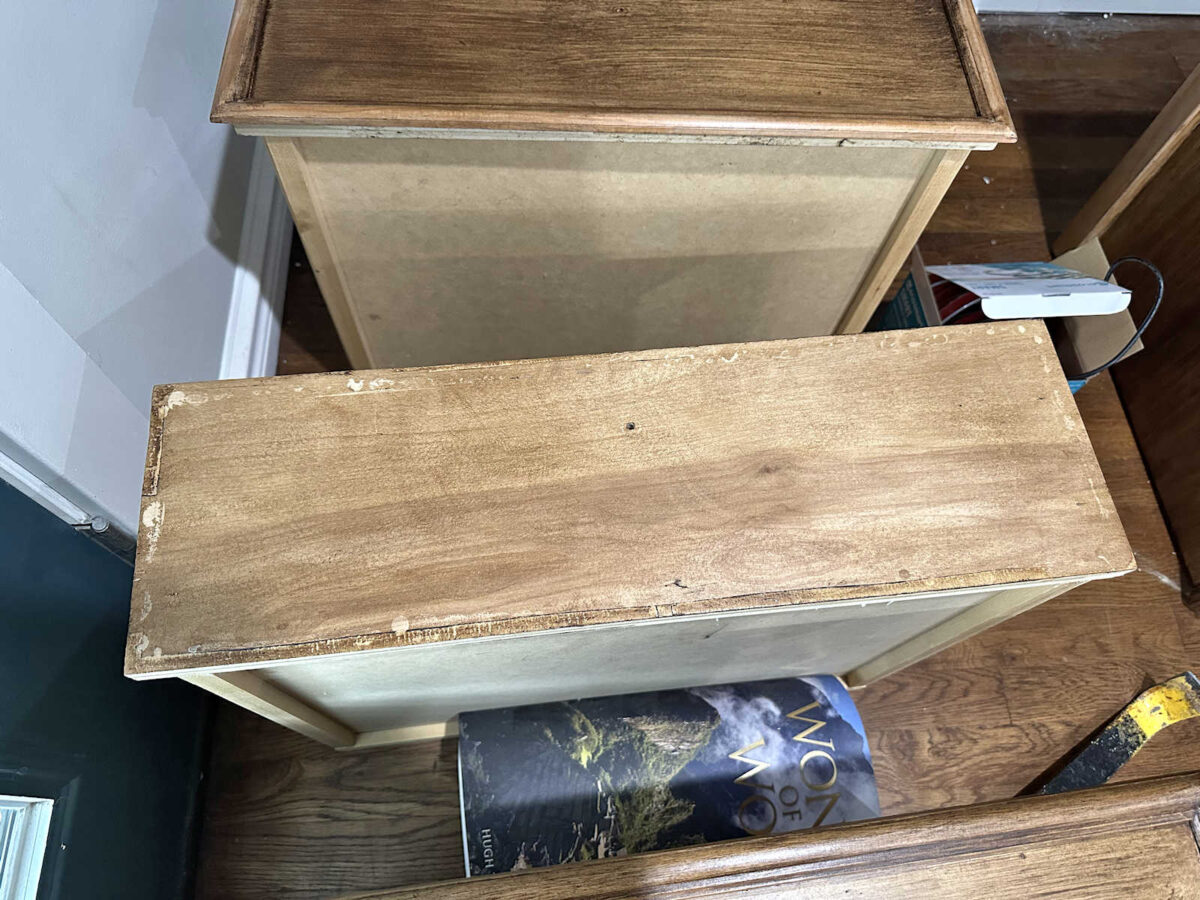
However to fulfill the curiosity of those that questioned if it would make a distinction, right here’s a drawer (the one which’s lacking the trim) earlier than utilizing acetone…

And right here it’s after utilizing acetone. There’s actually no distinction within the colour, and it didn’t make any distinction in how the drawer entrance felt to the contact. There was no distinction in sheen. There was no distinction in any respect. However this splotchy colour from the wooden stain is what causes the issue. And because the wooden underneath that stain isn’t fairly to start with, there’s now manner I’m going to waste time stripping the entire thing.
The person at Benjamin Moore didn’t suggest acetone to assist with the colour subject. He really useful it as a result of he thought it is likely to be wanted to take away any buildup of wax to assist with adhesion. However adhesion wasn’t a problem as a result of there was so little wax left at this level. All that to say that no, it wouldn’t have made a distinction within the consequence. And no, I don’t really feel any disgrace for skipping that step. 😀 The individuals in these shops are very educated, they usually’re there to offer common recommendation. However he didn’t benefit from truly seeing and feeling the piece that I’m engaged on. I had that profit since I constructed the factor from scratch, I’ve made each change to it with my very own palms, and I dwell with it in my dwelling day-after-day.
Okay, transferring on. After studying your entire feedback in regards to the proposed new base for the console desk, which seemed like this in my very fast mockup…

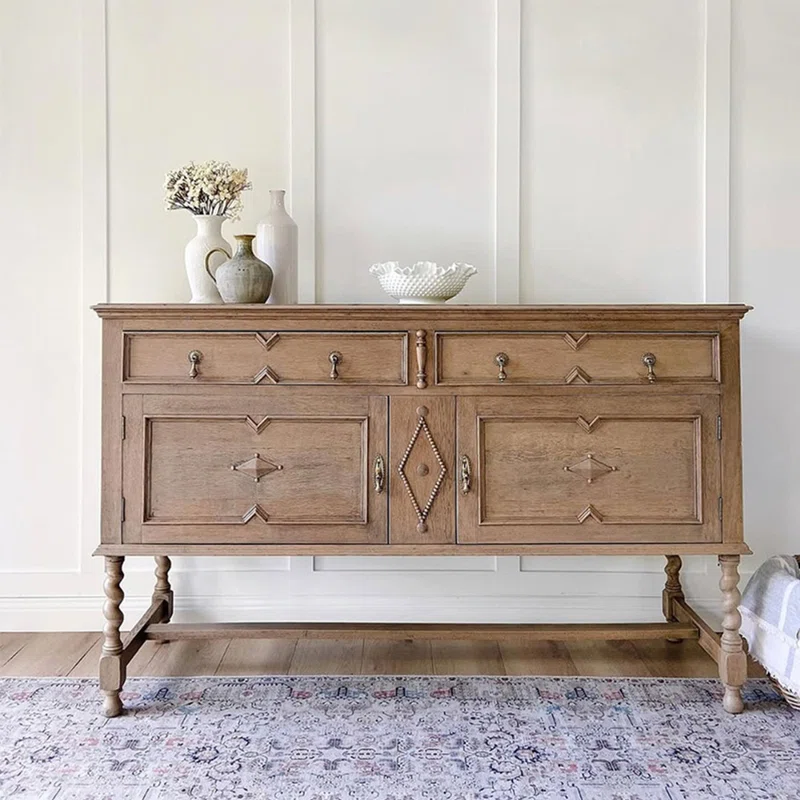
…a number of individuals mentioned they like the turned legs. And y’all know the way I really feel about turned wooden legs. I really like turned wooden legs and need them on all the things, if potential! And somebody included a hyperlink to this sideboard from Wayfair (affiliate hyperlink). So I made a decision to see if I might make this work.
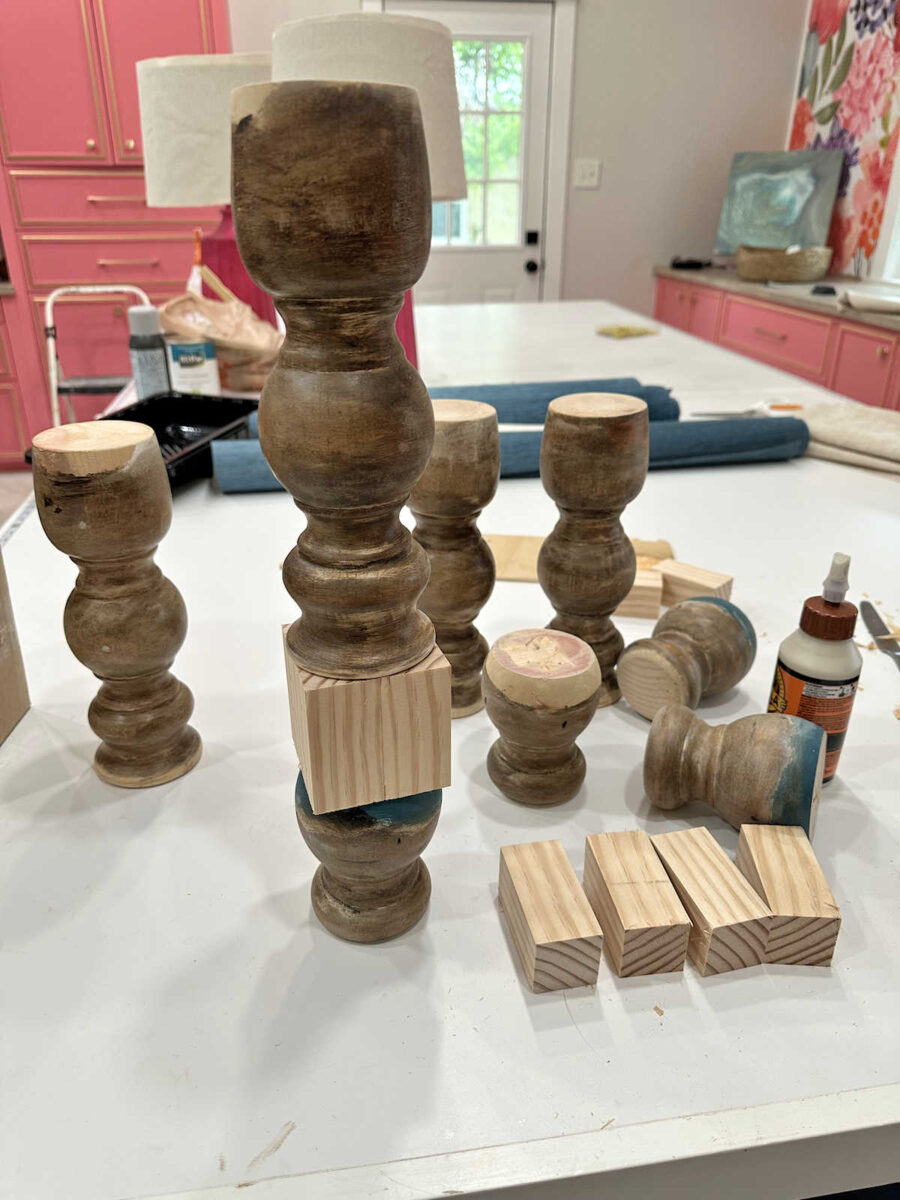
With a view to do this, I’d want so as to add wooden blocks to the turned legs to have a spot to connect these stretchers. (I’m undecided if that’s what they’re referred to as, however I name them stretchers — the items that connect the legs collectively and provides them stability.) Due to the way in which I had constructed the unique console desk with the turned legs and the shelf, these legs had been already in two separate items, giving me the right place so as to add a block.
So I made blocks out of two″ x 2″ lumber, gluing and nailing them collectively. I didn’t hassle wooden filling and sanding them at this level as a result of I simply wished to see if I favored the thought. And I additionally didn’t take the time to sand down the corners to spherical them off at this level to make them appear like the inspiration image.
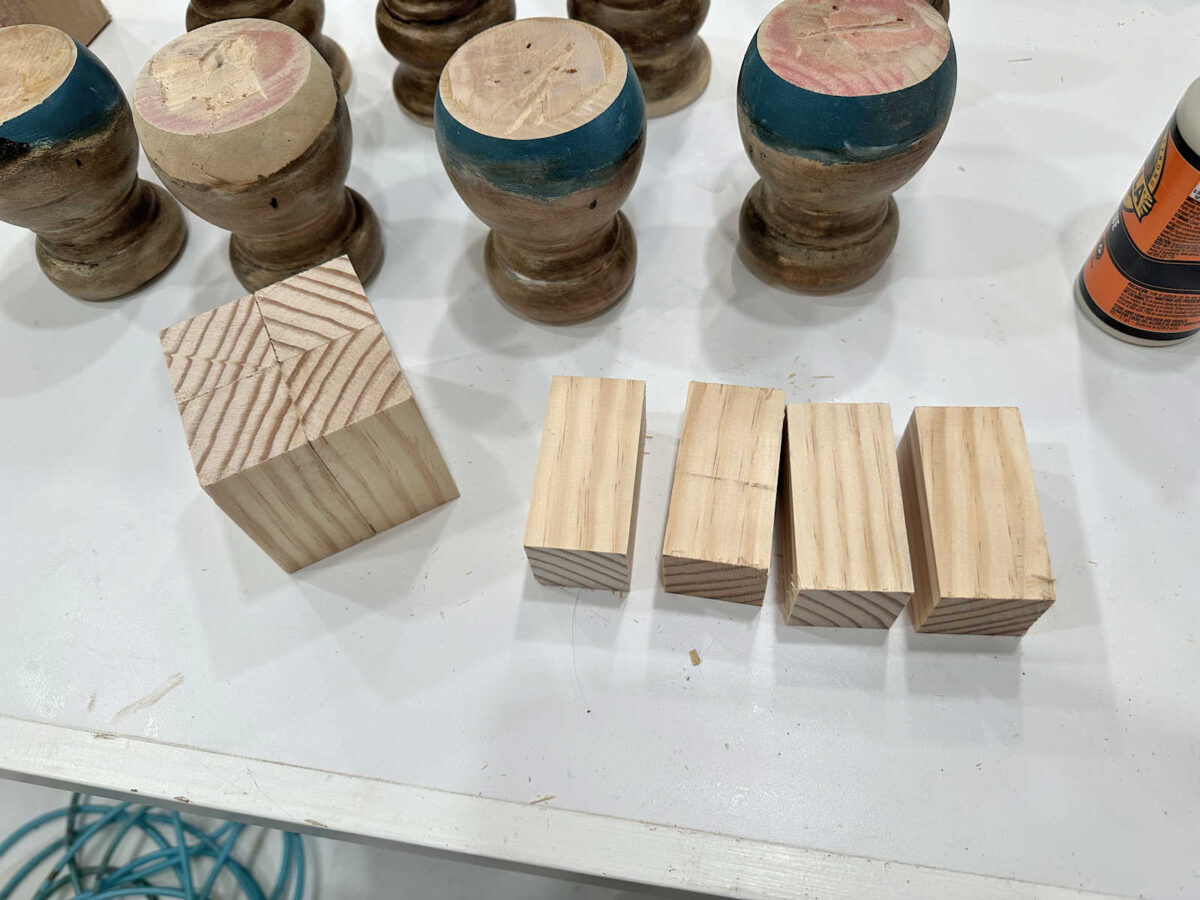
With one of many blocks made, I examined out the thought. I initially favored it. I knew I might make it work if I went this route.
However in an effort to account for the extra peak of the block, I must reduce off the equal peak from the highest of the legs. And that’s what gave me pause.
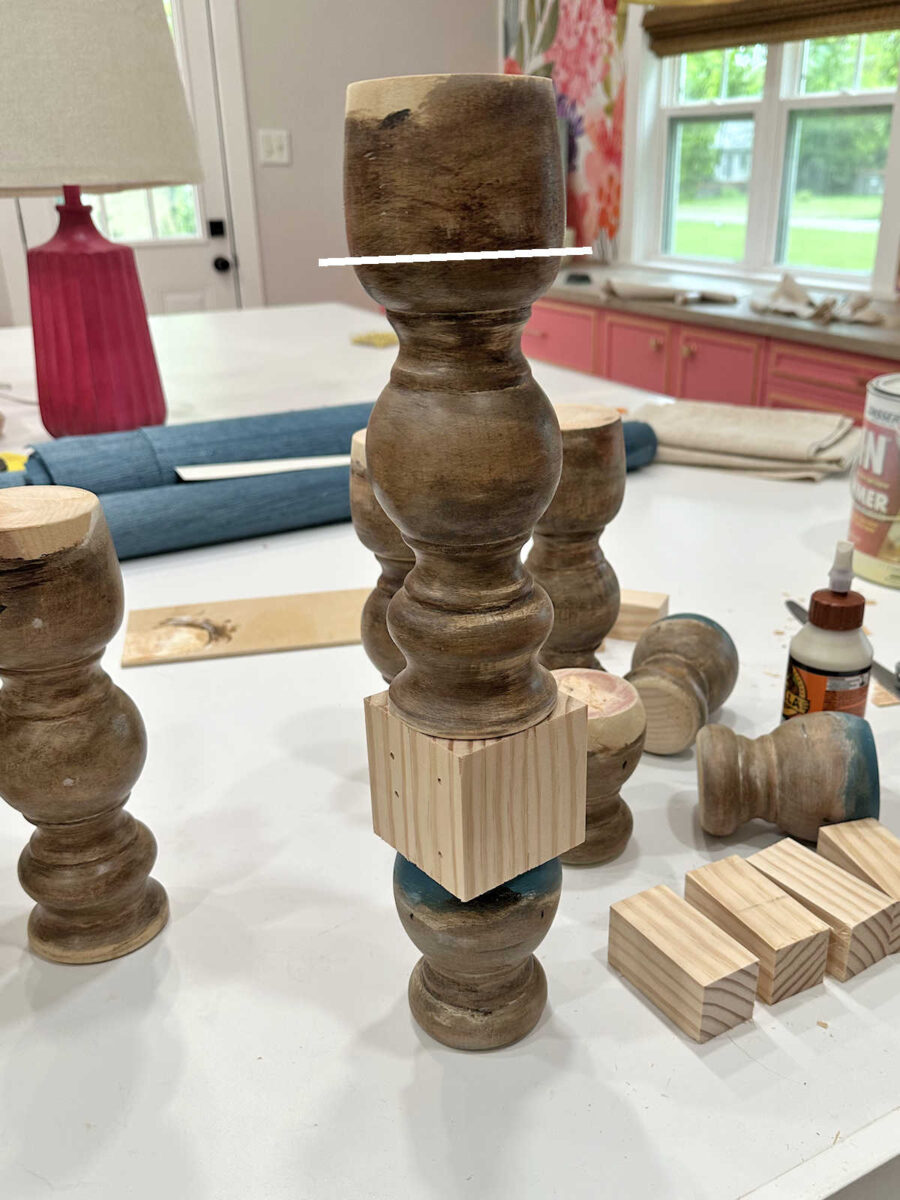
I don’t actually have a great way to chop off turned legs and ensure that they’re completely straight and clean on prime. These legs had already been reduce off on the prime, they usually definitely weren’t reduce straight. The factor that was giving the console desk a lot stability was the shelf. The one manner I’ve reduce down turned legs prior to now (and the way in which I initially reduce these down years in the past) is with my miter noticed however getting that prime completely straight is a problem. I’d even say it’s unattainable when making an attempt to chop a leg that’s already turned. And actually, I didn’t need to reduce extra of the turned design off of the legs.
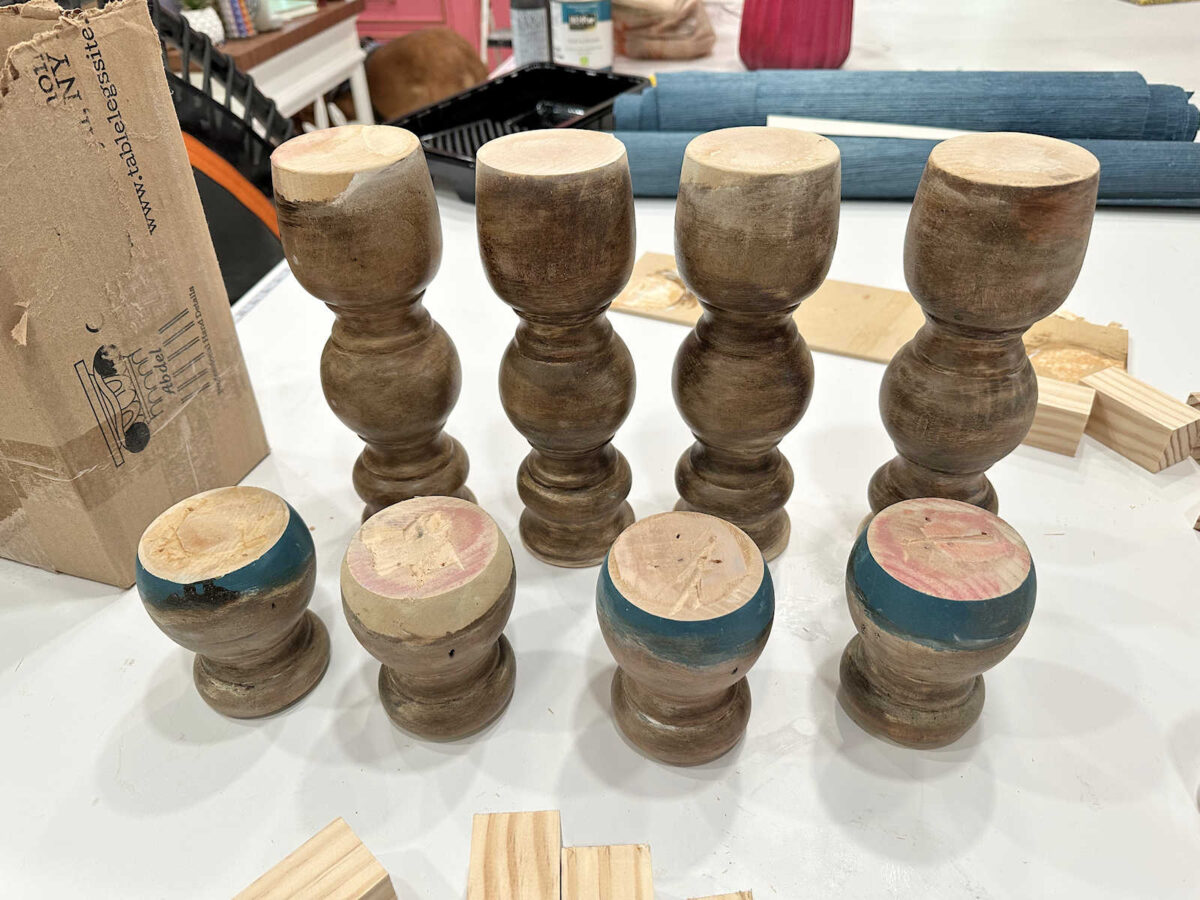
So I glued and nailed the 2 items of every leg again collectively, similar to that they had been years in the past earlier than I ever reduce them aside for the unique console desk design. And I used wooden filler the place the 2 items met.
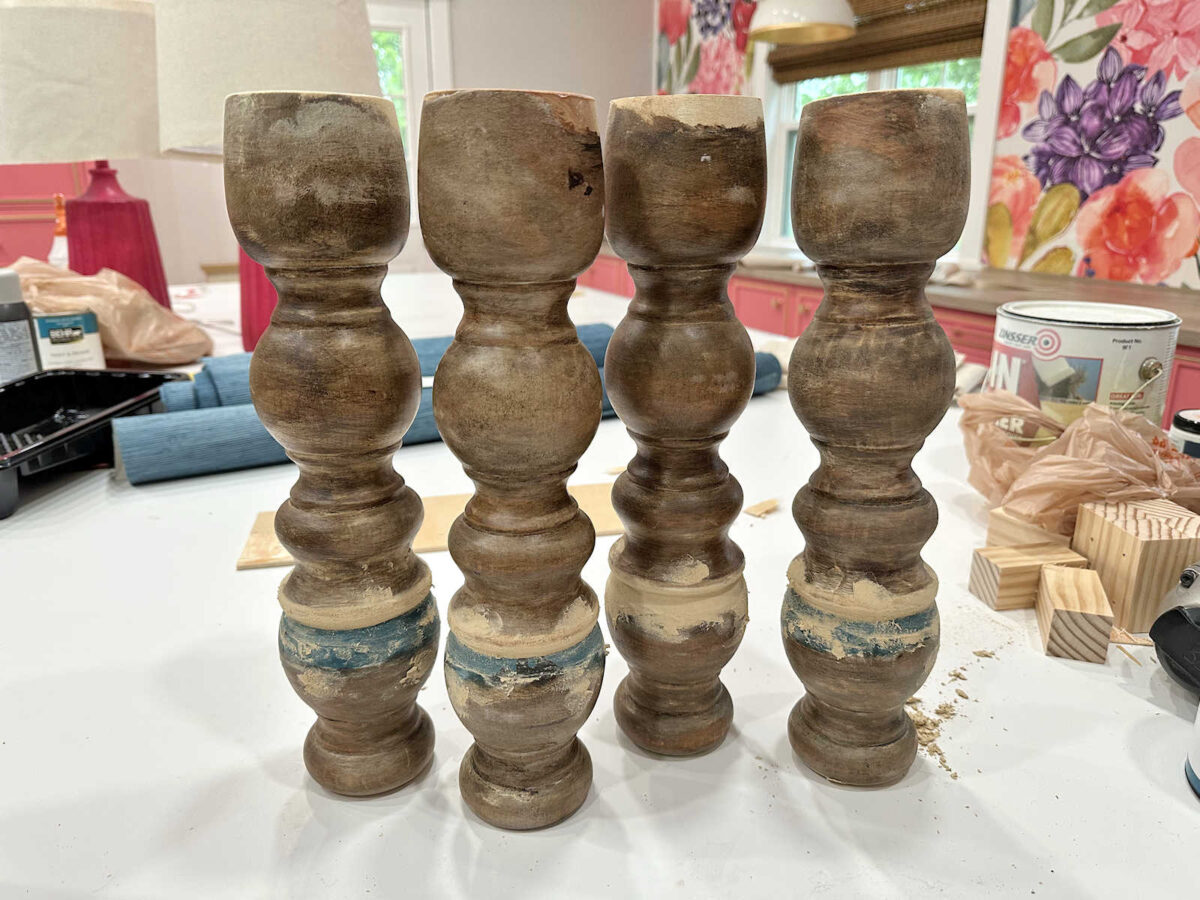
However as I used to be ready for the wooden filler to dry in order that I might sand them, I couldn’t, for the lifetime of me, work out methods to connect these in a manner that they’d be completely straight and regular. I don’t know for those who can inform from the image above, however as a result of these have been reduce so many occasions prior to now, they’re already barely completely different heights. Plus, most legs like which have a block on the prime that’s built-in into the construct of the physique of the console desk. You possibly can see that on the World Market sideboard instance. That block on the prime of the legs is built-in into the underside development of the physique of the sideboard.
These legs didn’t have a block on the prime. And even when they did, integrating it into the physique of the console desk would imply I’d just about should rebuild it, and I’m not prepared to try this.
So the legs would principally should be caught to the underside of the already-built physique of the console desk, and I simply can’t work out a manner to try this in a manner that they’d be steady sufficient to carry that complete higher part securely sufficient in order that I wouldn’t maintain my breath and really feel anxious each time somebody acquired too near it, touched it, and even worse, leaned on it.
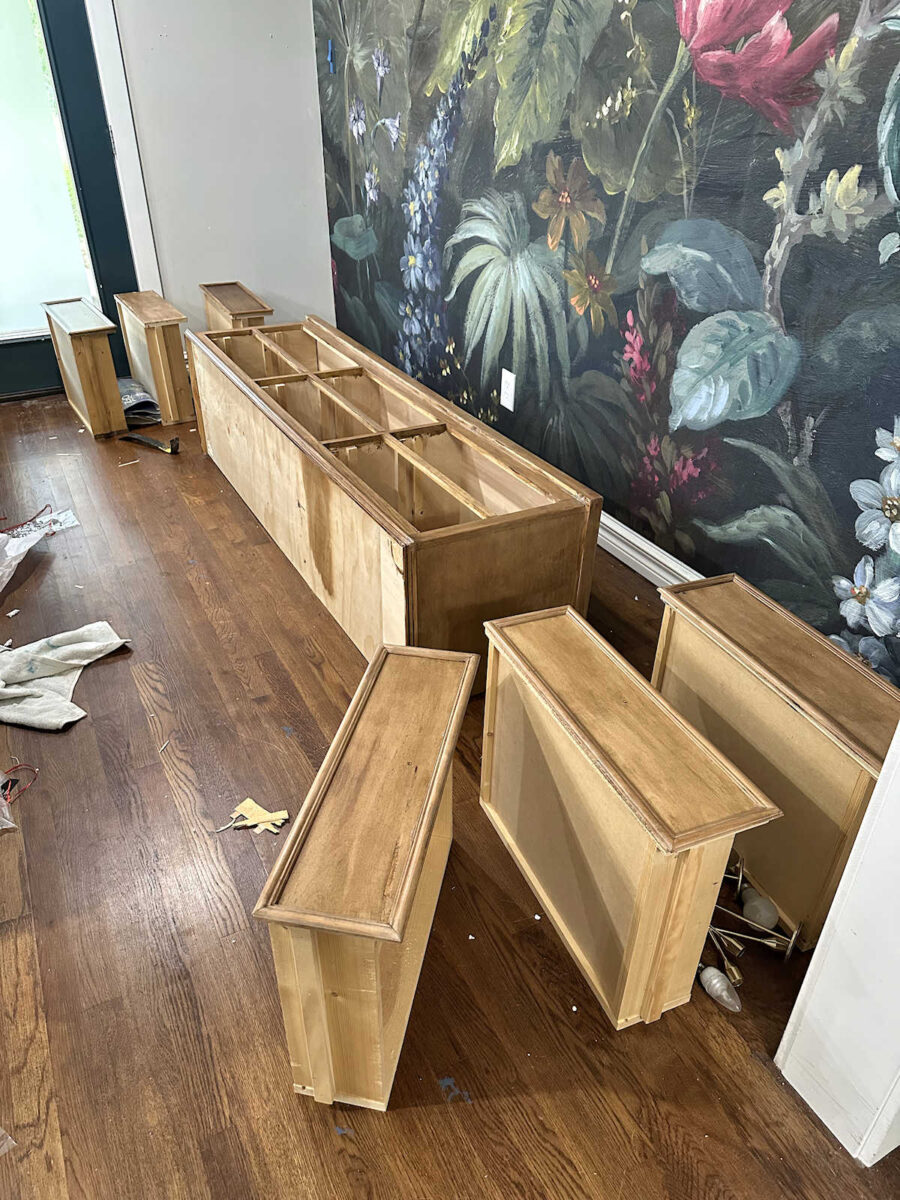
So ultimately, I’ve determined to avoid wasting the turned legs for a future venture. I’m undecided what that venture will likely be at this level, however I by no means eliminate turned legs. And I’ve determined to go along with my authentic concept of utilizing straight lumber to construct the brand new base with 4 quite simple legs and three quite simple stretchers to connect them. They’ll be thicker than those exhibits on my mockup, although. However at the least I gave this a strive. I gave myself sooner or later of making an attempt to drawback remedy and making an attempt to make the turned legs work, however these legs have already been reduce so many occasions with my miter noticed that I don’t suppose there’s any salvaging them in a manner that may make them sturdy sufficient for this console desk.
The trial and error was enjoyable, however now I’ve a plan, and I actually need to get this console desk completed and get my complete front room and entryway completed up and put again collectively in order that I’ll be prepared to move exterior and get some outside tasks completed as quickly because the solar decides to make an look. As quickly because the concrete on the entrance porch is dry sufficient to color (which I have to do earlier than I can add the brand new skirting), I need to be prepared to move exterior and work on that. I’ve given this console desk sufficient time and thought, and now I simply need to get it completed up. No extra second-guessing. 🙂
Extra About Our Entryway

see all entryway
diy tasks

learn all entrwyay
weblog posts

Addicted 2 Adorning is the place I share my DIY and adorning journey as I transform and adorn the 1948 fixer higher that my husband, Matt, and I purchased in 2013. Matt has M.S. and is unable to do bodily work, so I do the vast majority of the work on the home on my own. You can learn more about me here.
Trending Merchandise

UpCircle Rodillo de ojos 1 pieza – Para...

ESSENCE BRILLO DE LABIOS VOLUMINIZADOR WHAT T...


COSRX Advanced Snail 92 All in One Cream, 100...


