
I spent all weekend ending up the lighting in my walk-in closet. This turned out to be a way more concerned course of than I had initially thought it will be, however the payoff is fairly superb!! I ended up having to crawl into the attic about ten extra occasions to get all of it completed, nevertheless it’s accomplished!
I shared the primary a part of this lighting set up course of final Thursday after I minimize the holes for the brand new slim canless LED downlights that I wished to put in. I shared that course of in final Friday’s submit. I like these lights as a result of they’re only one/2-inch thick. And since they don’t embody that large housing that extends into the attic like the old-fashioned recessed lighting does, you’ll be able to set up them nearly wherever, together with instantly below a ceiling joist.
I just like the Halo model, however there are a number of manufacturers of canless LED downlights to select from. And I at all times purchase those which have a number of completely different gentle/temperature settings as a result of I prefer to set mine to the daylight (5000K) setting in order that my colours aren’t distorted. Right here’s what the lights appear like.
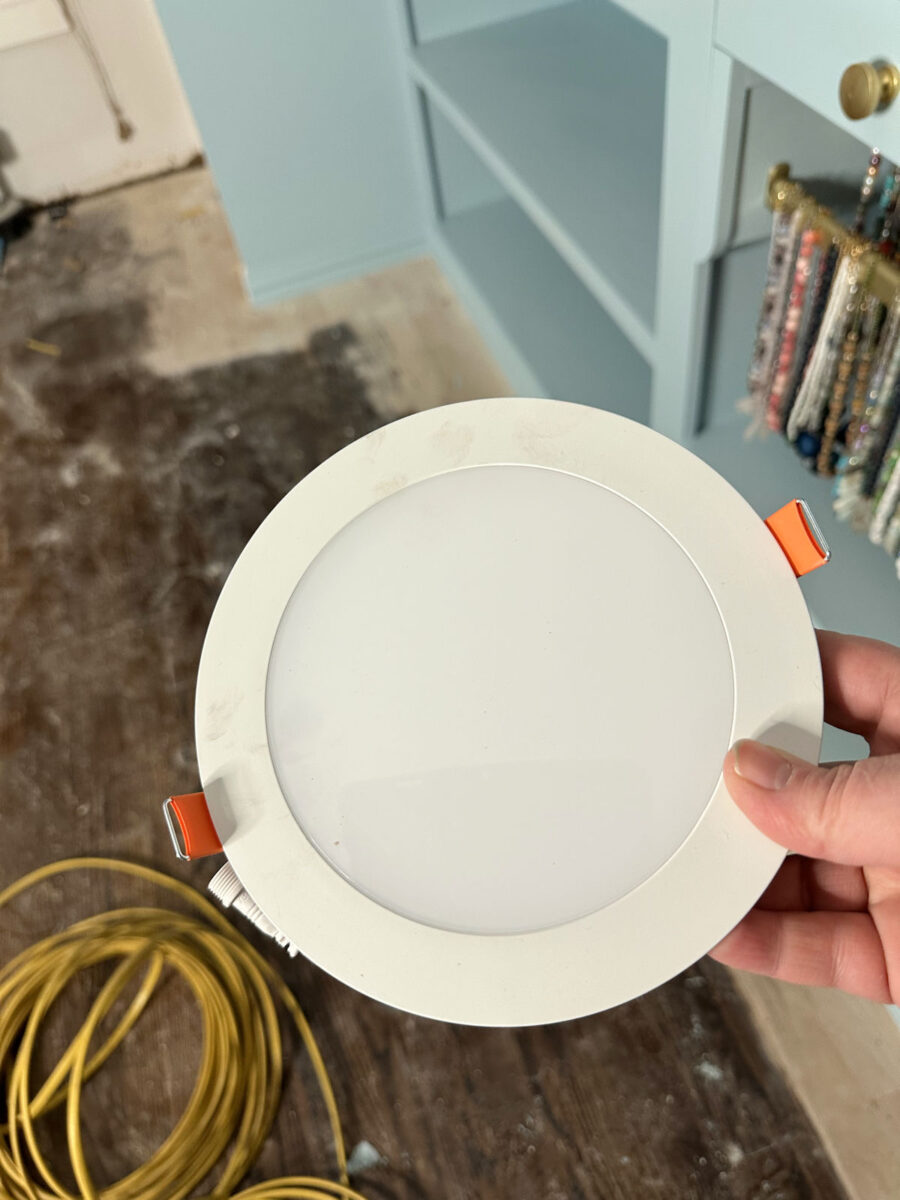
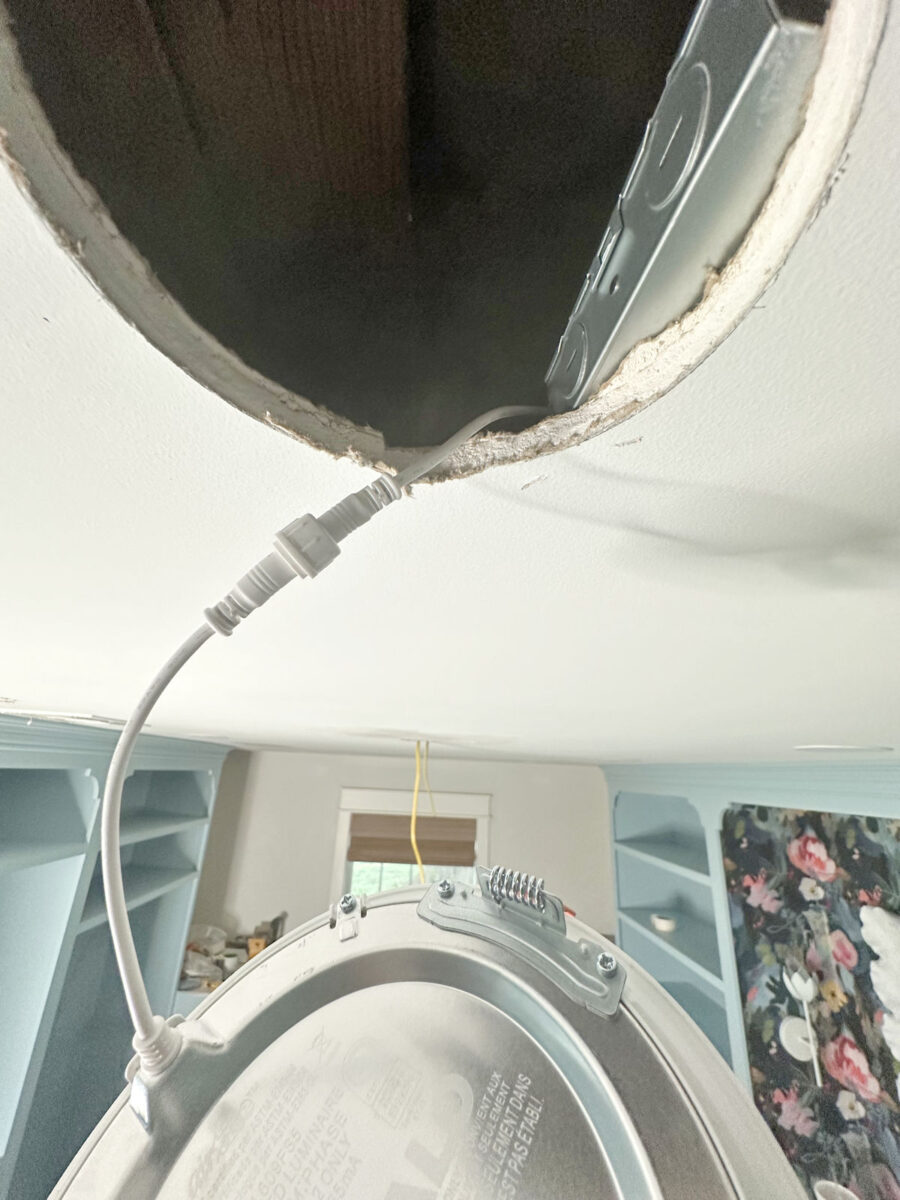
And as soon as you narrow the outlet within the drywall, the sunshine is held in place inside that gap with these two steel spring clamps (the orange tabs).
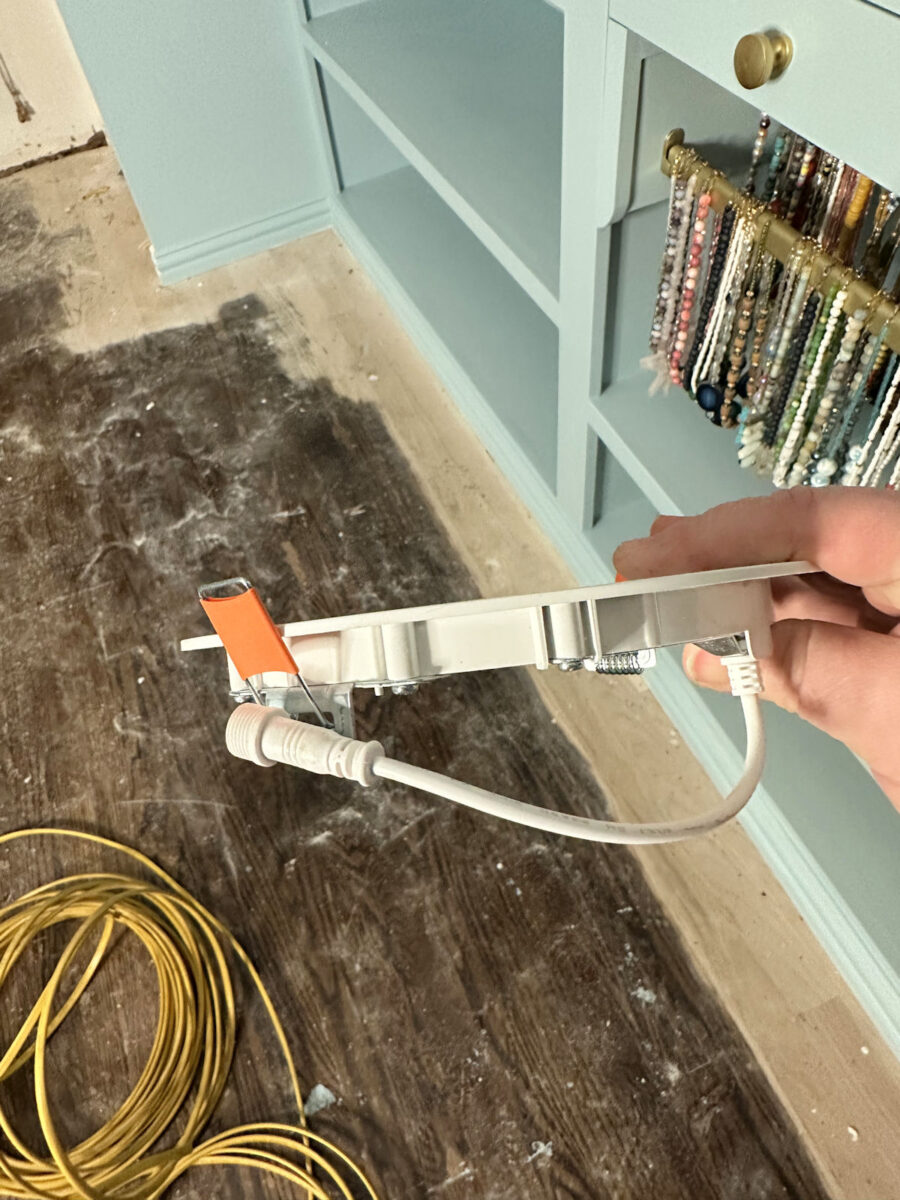
Every gentle comes with this steel housing for the wires. After eradicating one of many spherical steel knockout holes within the housing, I added a wire clamp to the outlet (which I needed to buy individually). And after stripping the yellow plastic sheathing from the wires, after which stripping about 5/8″ of sheathing from the ends of the black and white wires, I inserted the wires into the housing via the wire clamp.
After which I separated out the wires in order that the black wires have been collectively, the white wires have been collectively, and the naked copper wires have been collectively. I’ve two of every coming from the ceiling as a result of one wire is coming from the middle gentle (i.e., the unique gentle on this room) to feed electrical energy to this gentle, and the opposite wire goes from this gentle to feed energy the following canless gentle.
Should you’re solely putting in one single canless gentle in a room, you’ll solely have one wire coming from the ceiling. I used to be putting in seven canless lights all daisy chained collectively, so every gentle had two wires coming from the ceiling apart from the final (seventh) gentle within the chain.
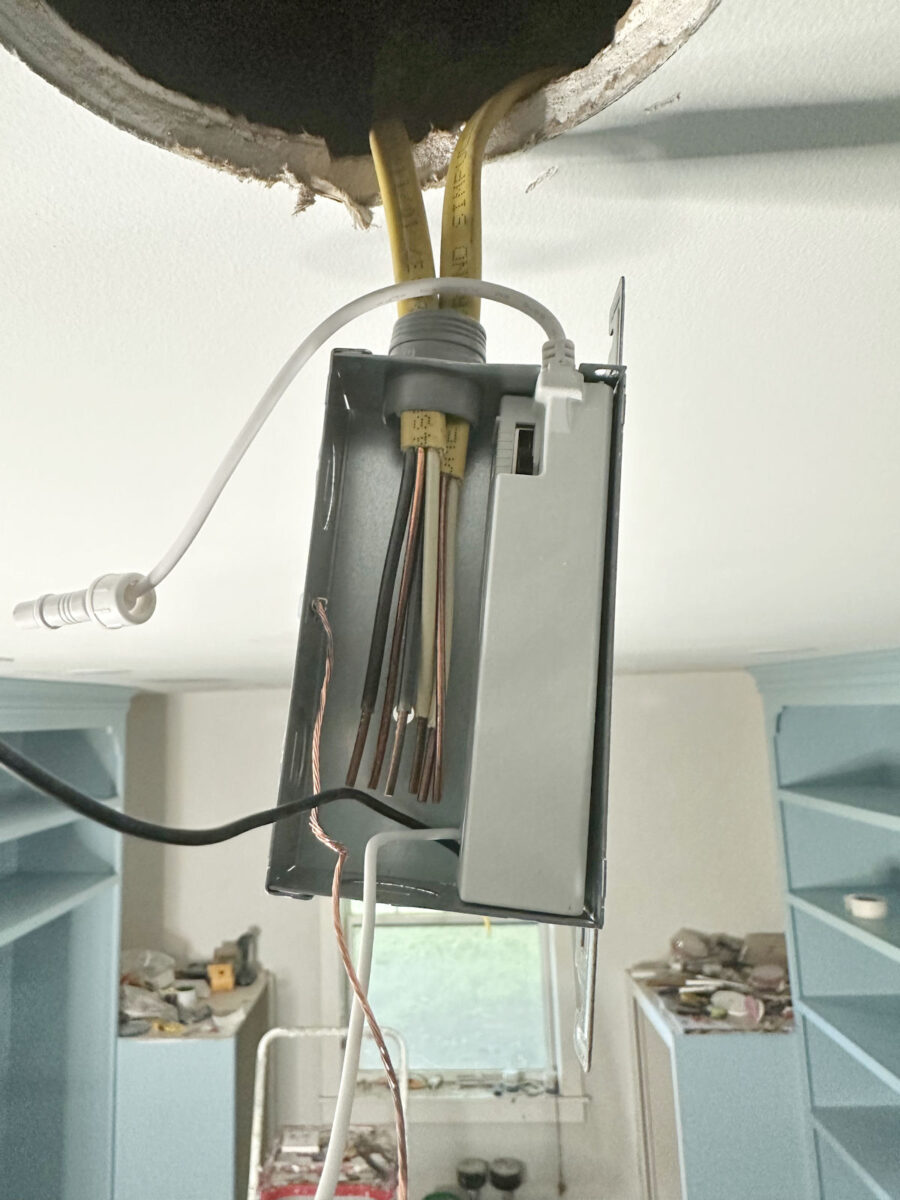
Then I used a wire nut to connect all the black wires collectively (three black wires — the black wire contained in the canless gentle housing plus the 2 wires coming from the ceiling). As soon as I tightened the wire nut as tight as I might get it, I gave somewhat tug on the smaller black wire coming from the canless gentle housing to make it possible for it’s safe. Typically these smaller wires don’t get securely twisted into the wire nut when wiring it with two 12-gauge wires. If it pulls out with a slight tug, I do know I’ve to take away the wire nut and take a look at once more till it’s safe. I repeated that course of for the white wires and the naked copper wires.
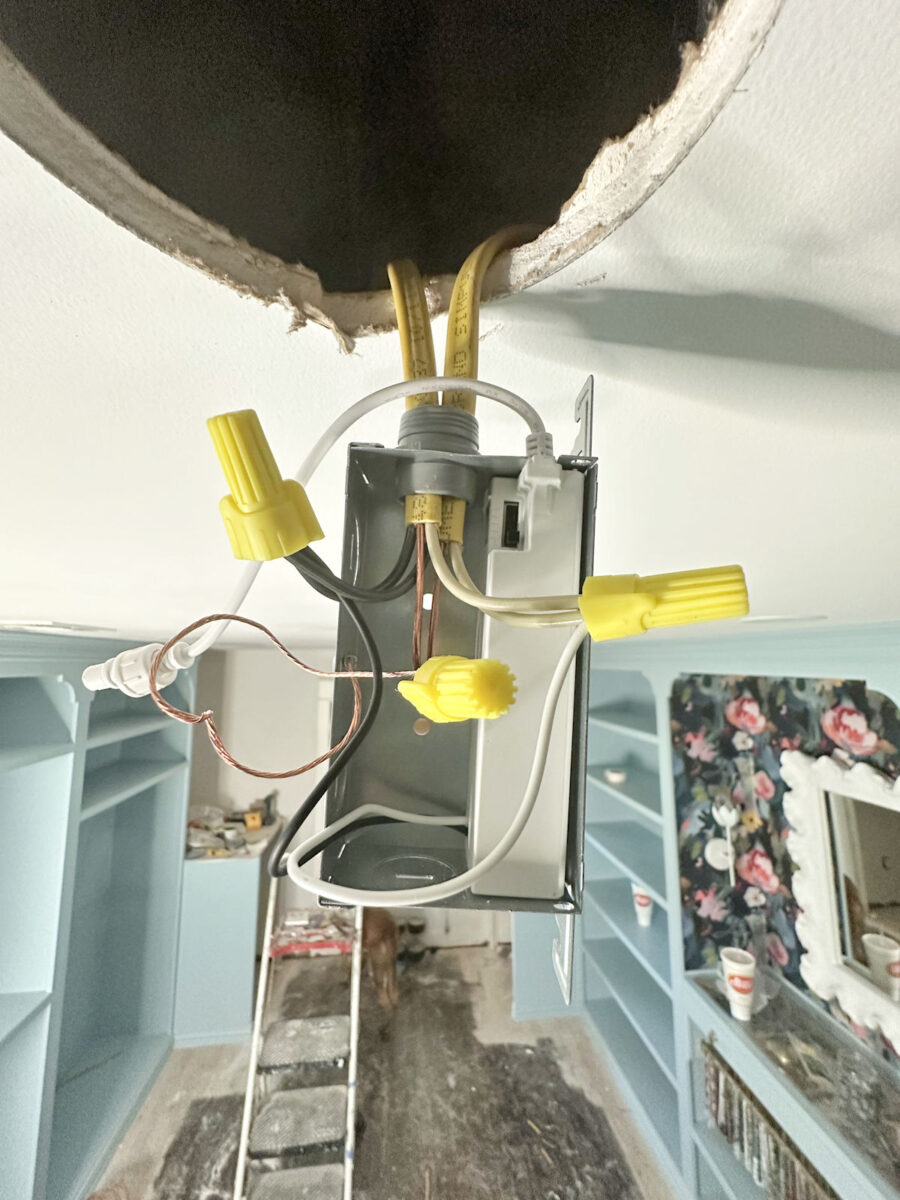
I at all times use electrical tape across the wires and the wire nut on the white wires and the black wires.
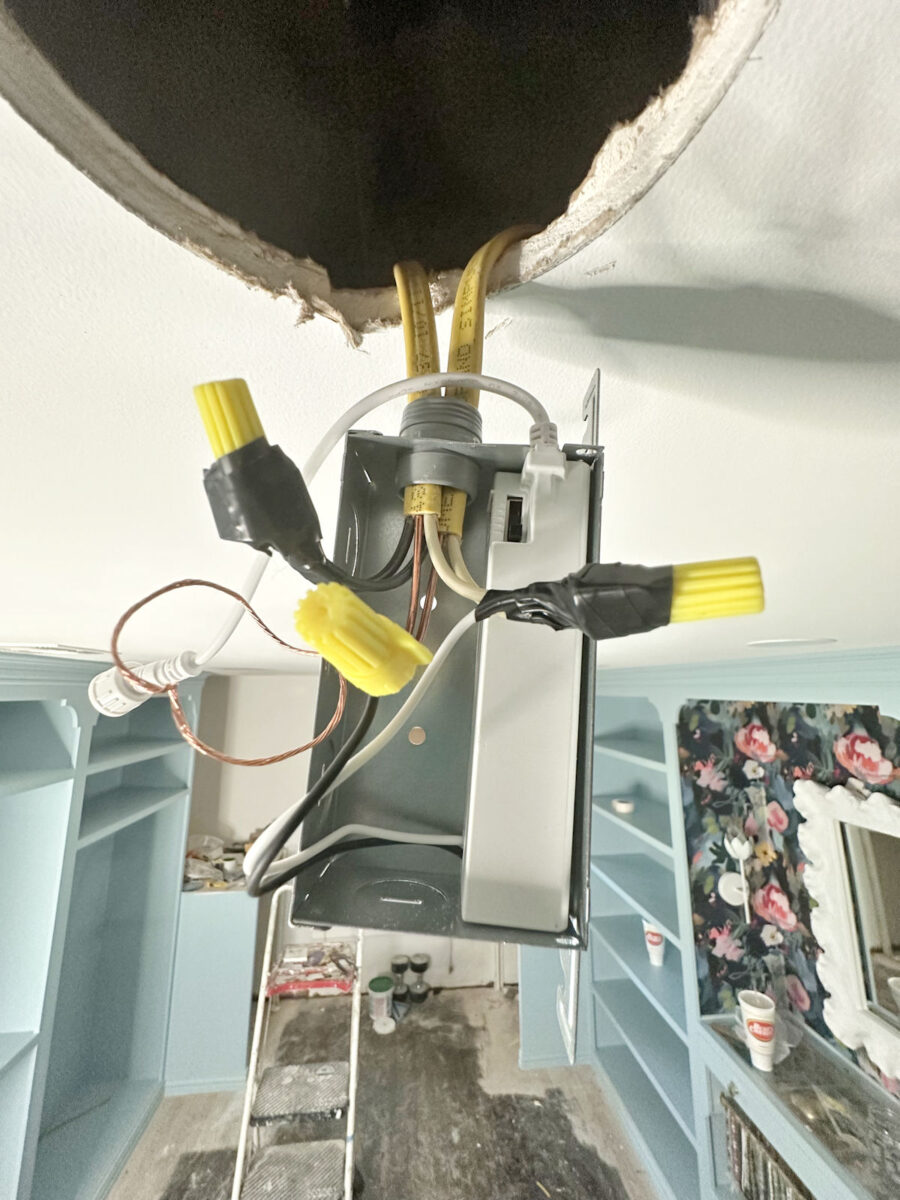
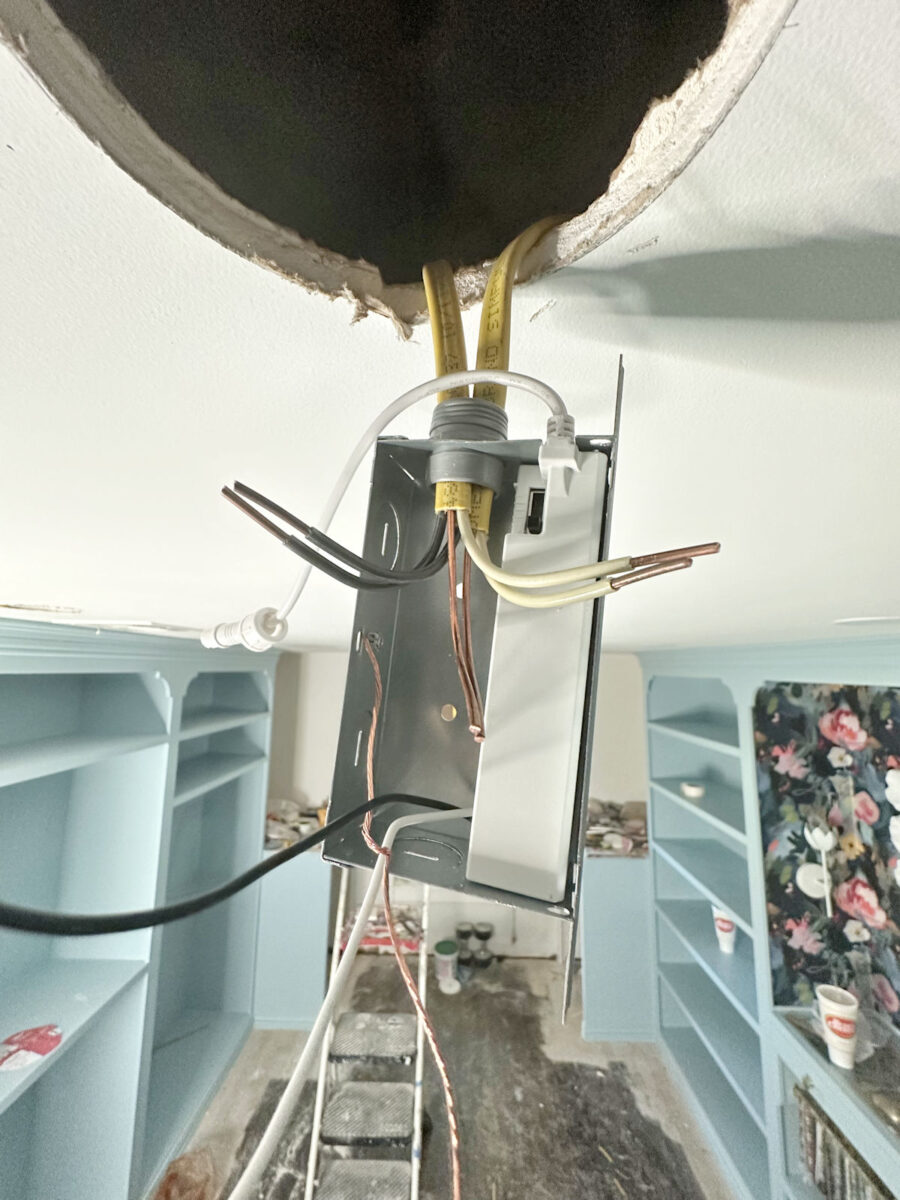
After which I rigorously tucked all the wires into the housing and put the quilt on the housing.
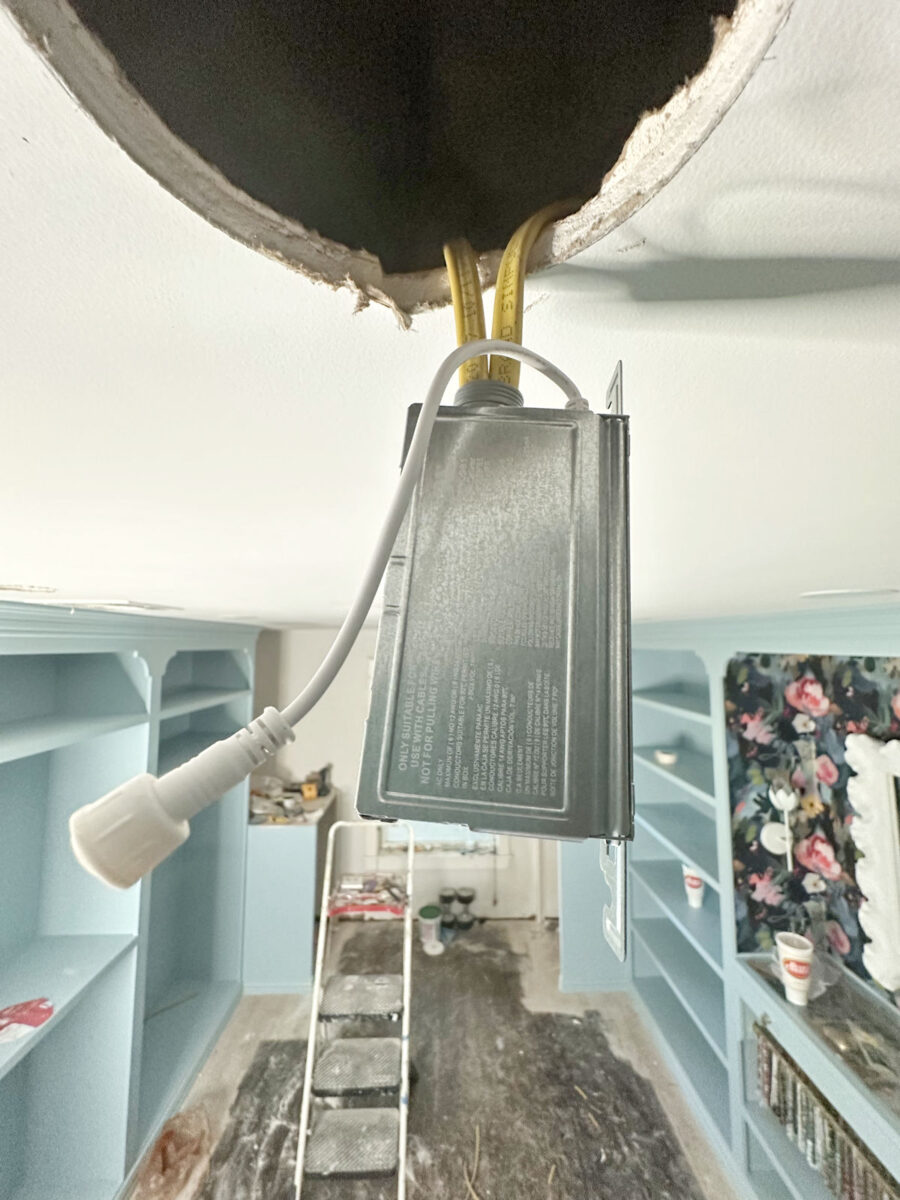
I positioned the housing within the attic on high of the drywall and reconnected the sunshine. Then I used to be prepared to slide these two steel prongs up into the outlet to safe the sunshine to the ceiling.
How one can restore a gap in drywall
Should you’ll bear in mind, I needed to minimize three further holes within the drywall in order that I might get the wires throughout to the place they wanted to go on this space of the room the place the roof was too low for me to do the wiring from contained in the attic. Plus, I moved the middle gentle over about six inches. In order that meant that I had 4 holes that wanted to be repaired within the ceiling drywall.

These holes have been six inches in diameter, so for every gap I wanted to restore, I minimize a chunk of scrap plywood to 10 inches lengthy. You should use any scrap wooden for this.
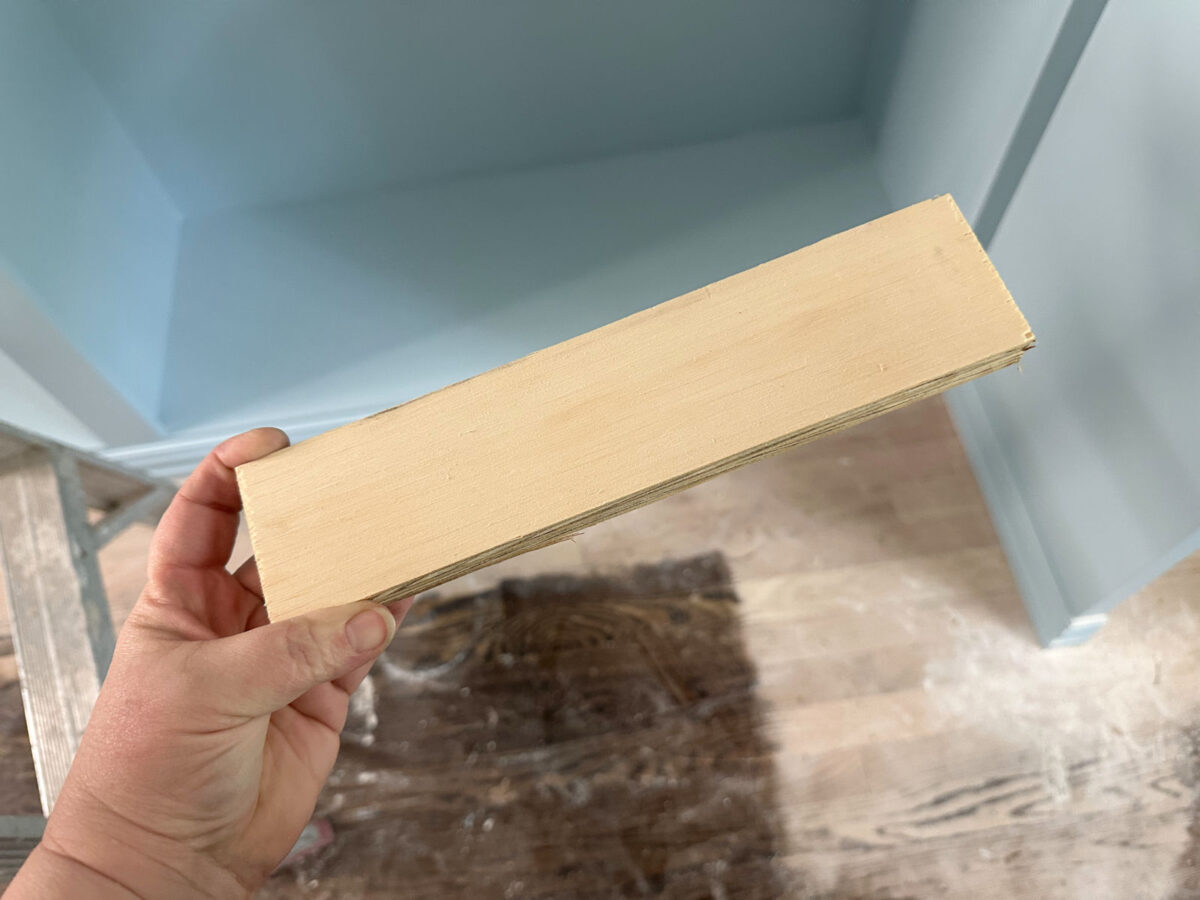
I positioned it into the outlet in order that it spanned the middle of the outlet and prolonged two inches previous the outlet on either side.
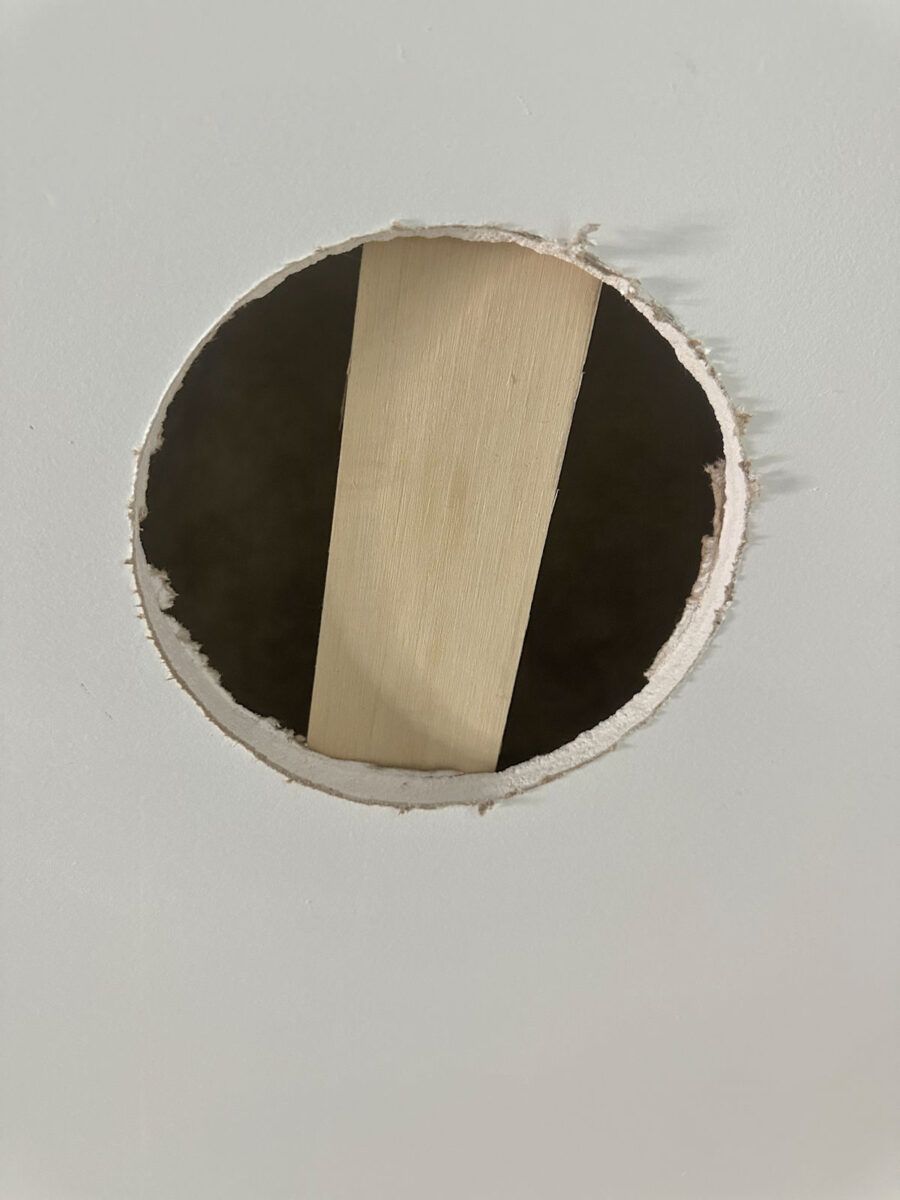
After which I secured that in place utilizing two drywall screws.

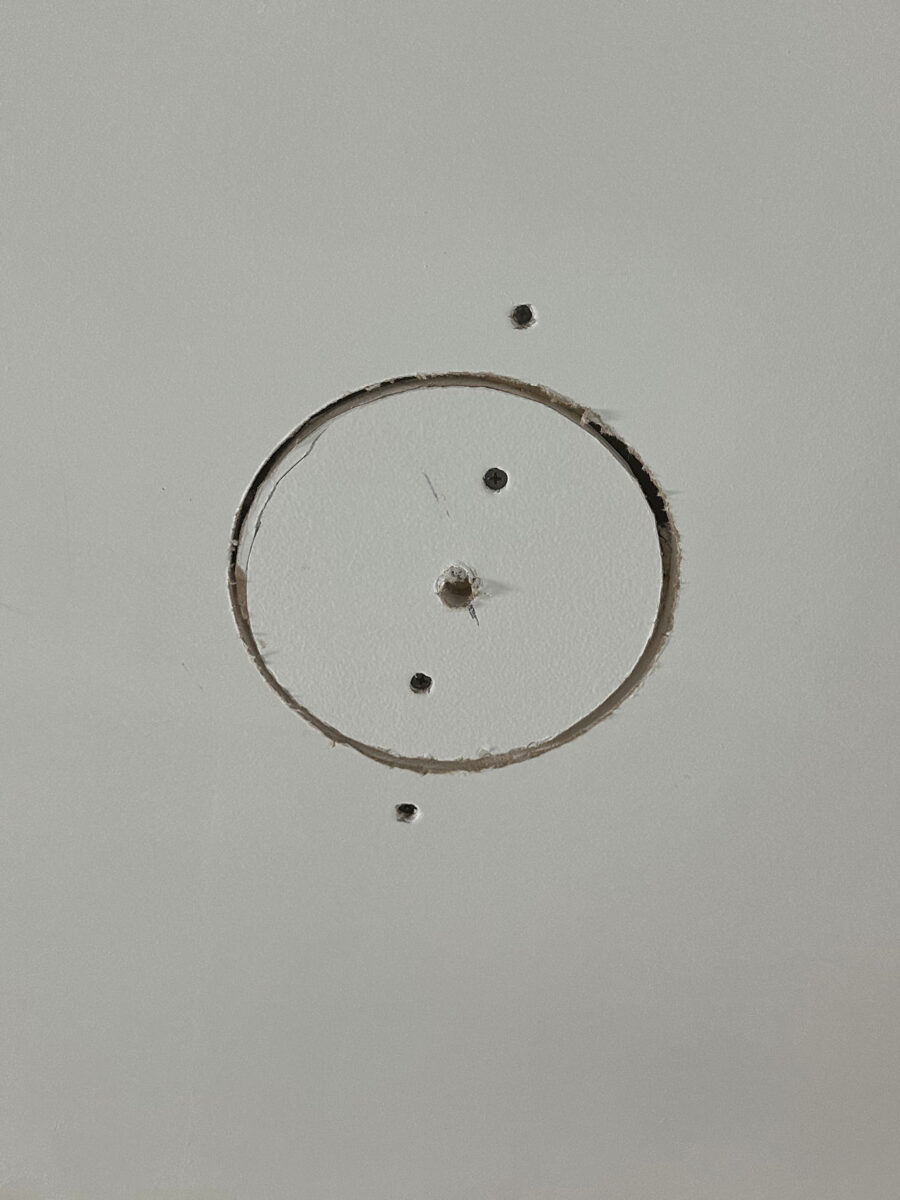
That piece of wooden gave me one thing to then screw the middle drywall to. Fortuitously, I didn’t have to chop new items of drywall for this. I had saved the spherical items that I needed to minimize out of the drywall, so I simply used these. However should you’re repairing a random gap in your drywall, simply minimize the outlet within the drywall in order that it’s a really neat circle or rectangle after which minimize a brand new piece of dywall to suit inside that circle or rectangle.
Then I used this 10-inch drywall mud knife…
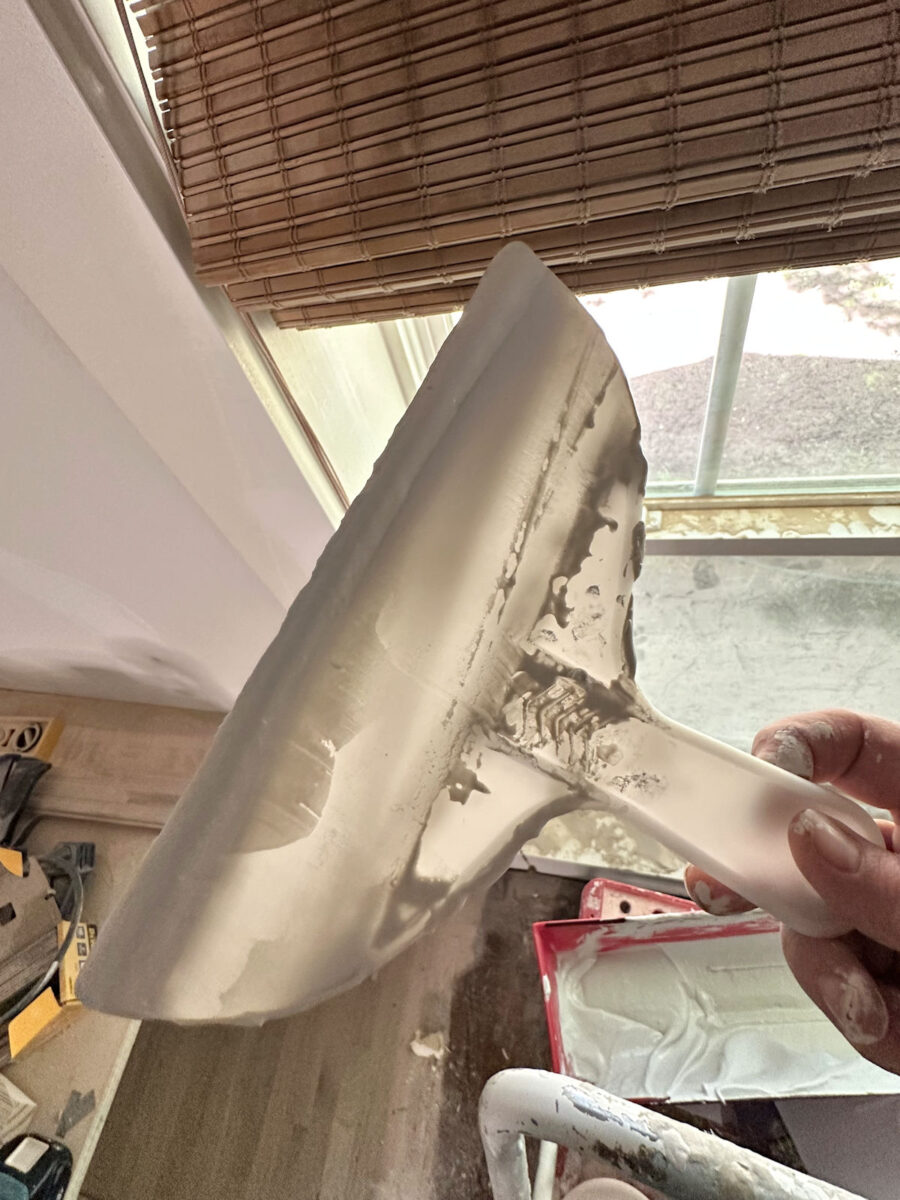
And I unfold some pre-mixed drywall mud over and across the space I wished to restore.
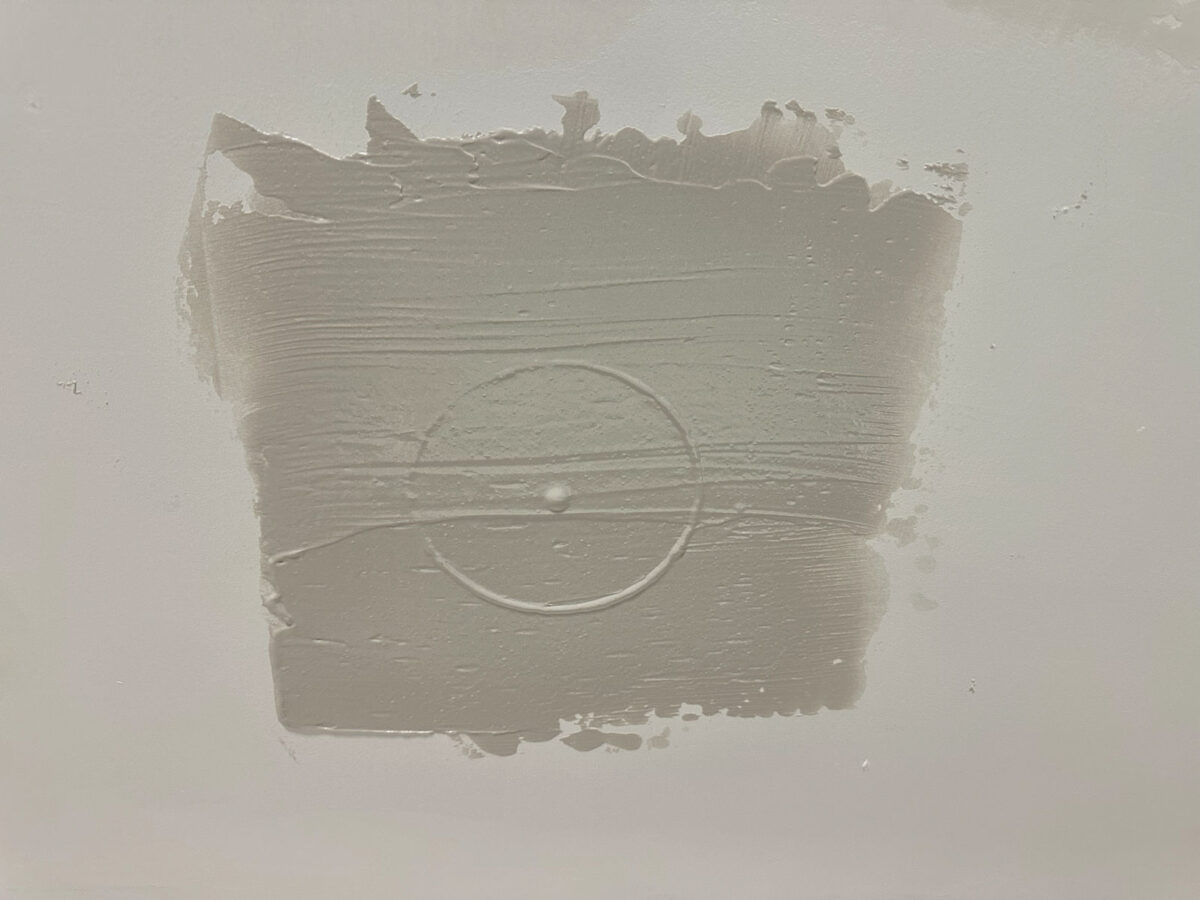
I positioned 4 strips of drywall tape into that moist mud to utterly cowl the perimeters of the circle in addition to the screw holes from screwing the wooden piece into place…
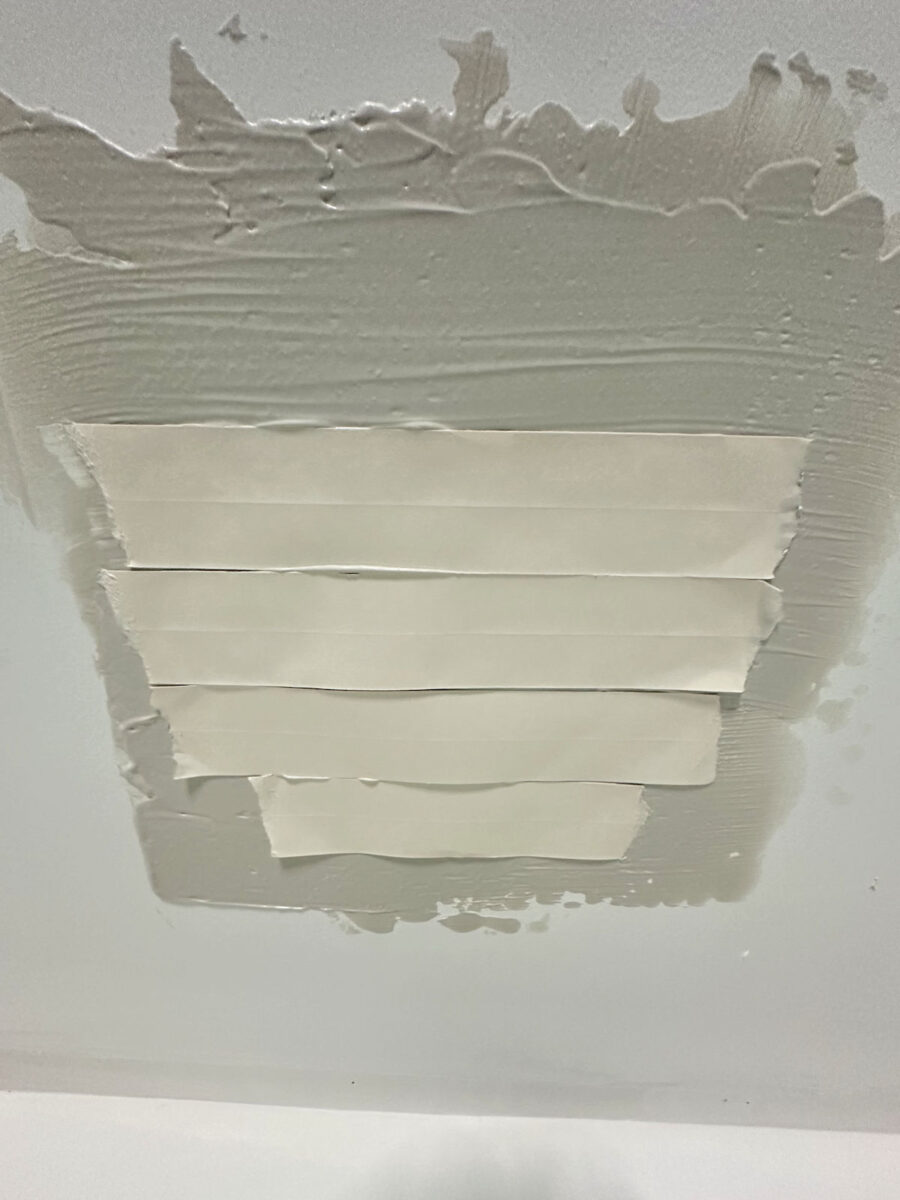
After which I used the drywall knife to easy out and take away all the extra mud.
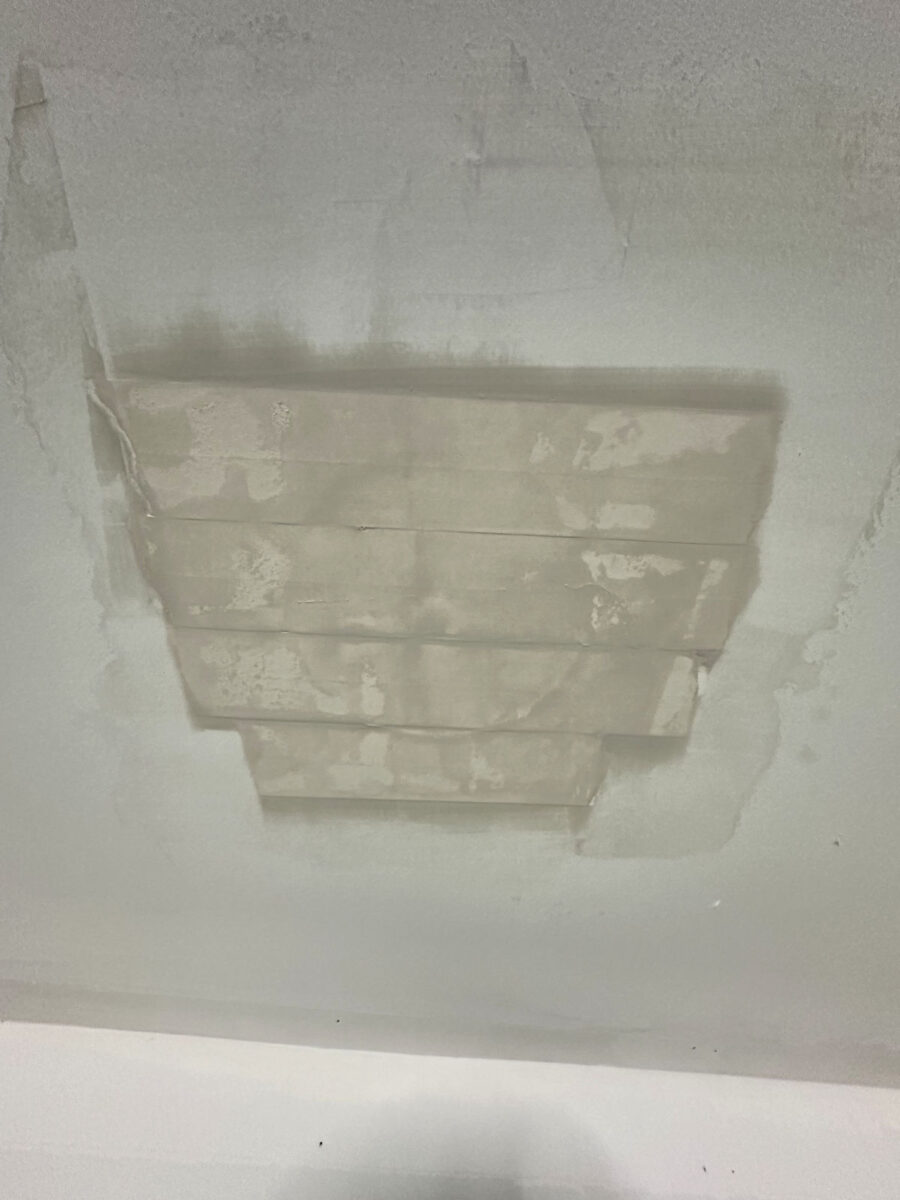
I left the repaired holes like that to dry for a number of hours whereas I put in the lights.
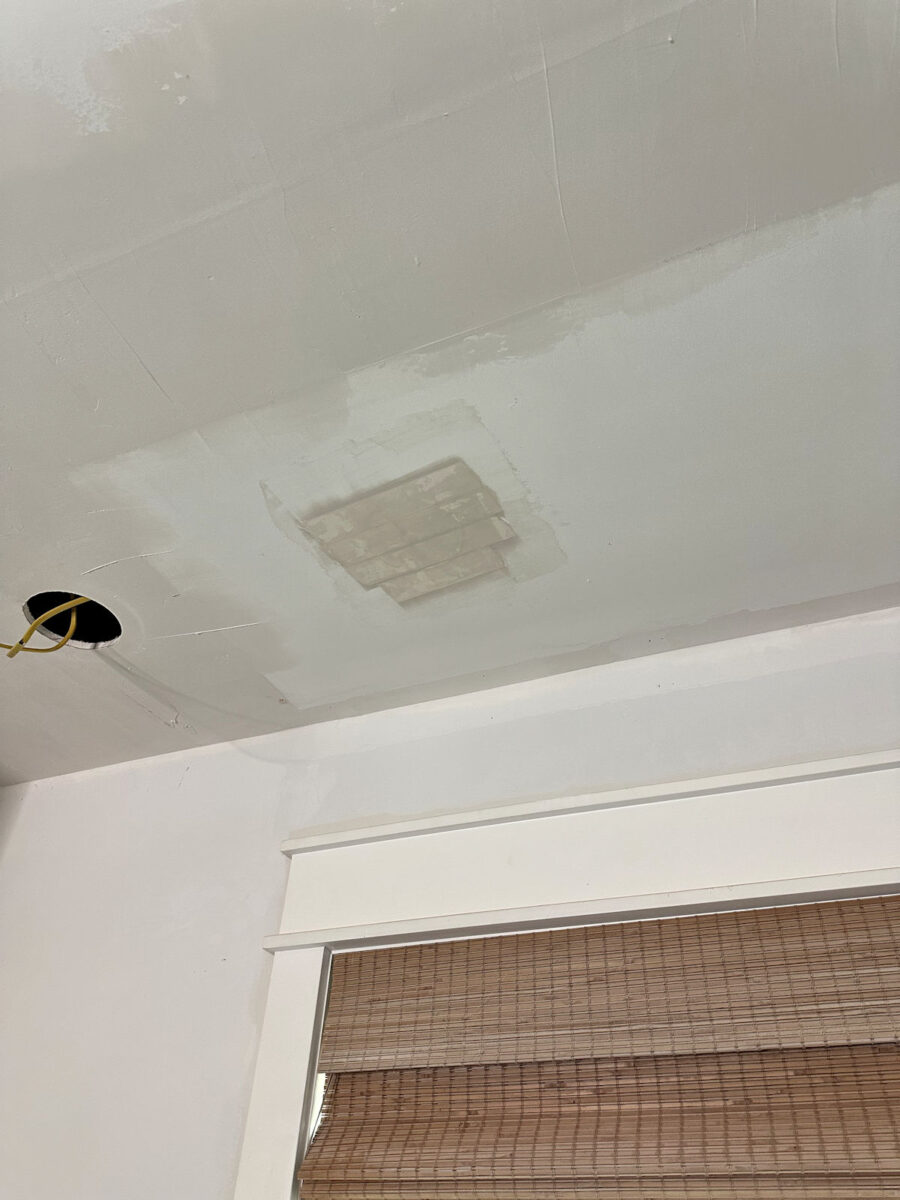
After I was completed putting in the lights, the drywall mud on these repaired areas was dry, so I went again over them with one other layer of drywall mud to cowl over the tape. I nonetheless must sand these areas easy, however as soon as they’re sanded, I don’t suppose anybody will ever know there have been further holes there.
I additionally swapped out the unique change for a dimmer change, after which I added a separate change for the sconces.
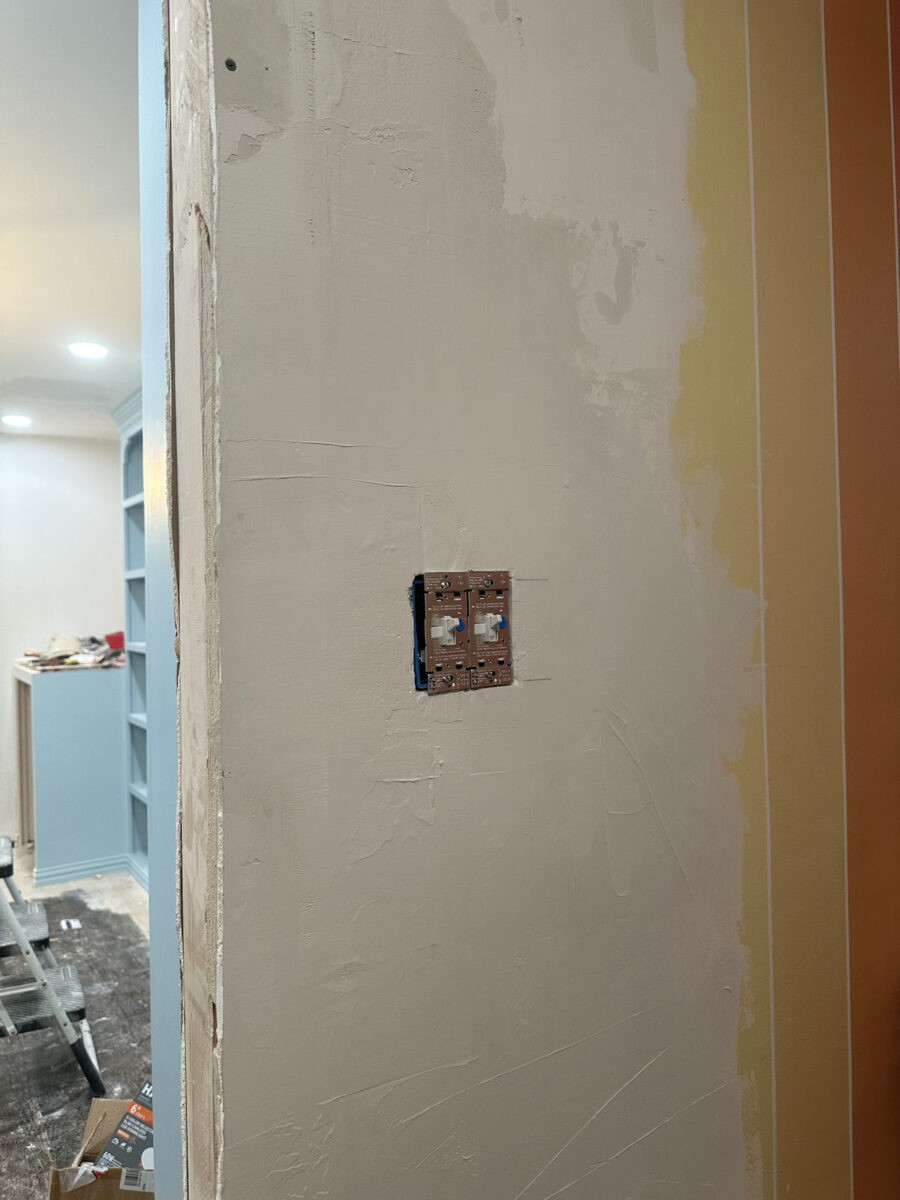
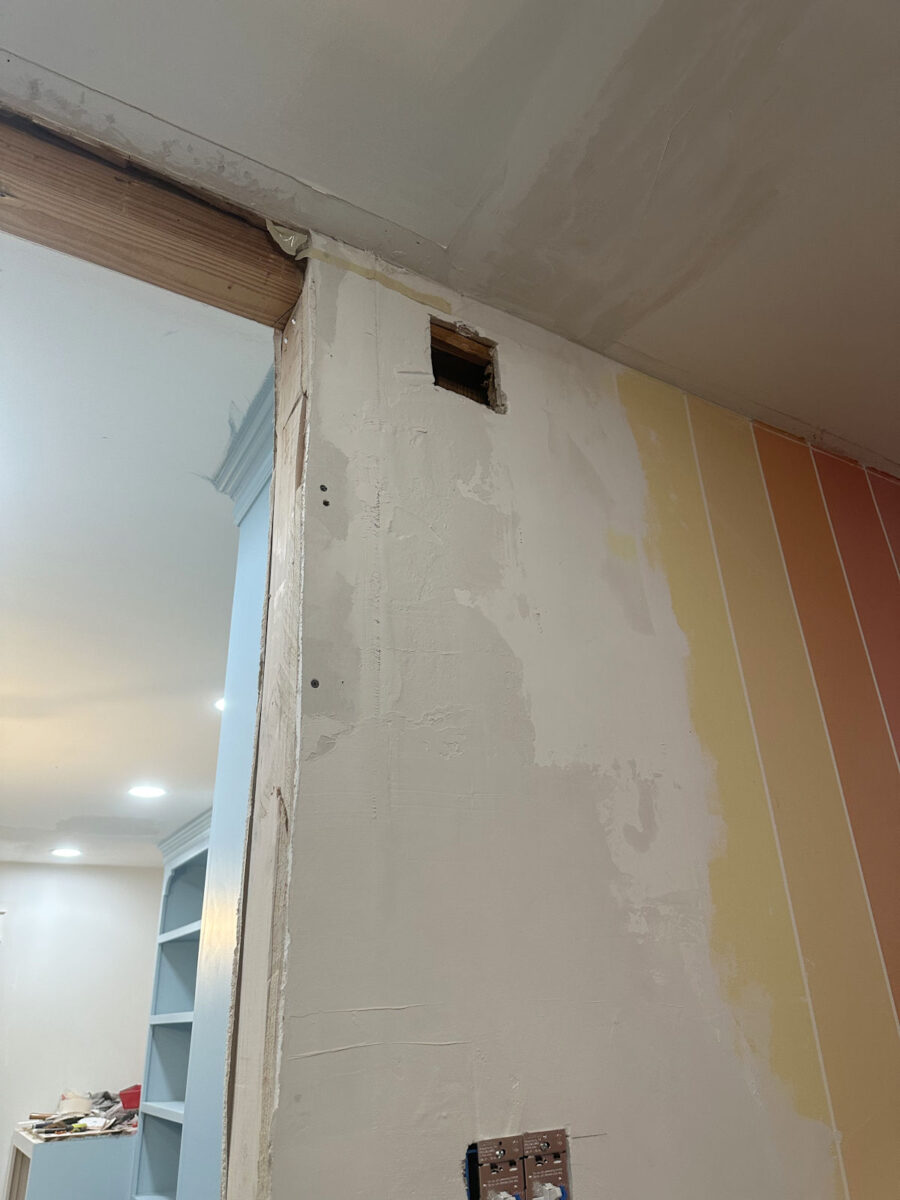
To be able to run that new wire for the sconces, I needed to minimize one other gap within the high of the wall to feed the wires via. After I initially tried to feed the brand new wire down from the attic, there was a random piece of wooden in the best way contained in the wall that wouldn’t permit the wire to cross via. So I needed to minimize the outlet within the wall to take away that rogue piece of wooden (it was a random piece of shiplap that had splintered off and was blocking the outlet) out of the best way to make room for the brand new wire from the sconces to cross via the outlet coming from the attic. So I now have one more drywall restore to do. 😀
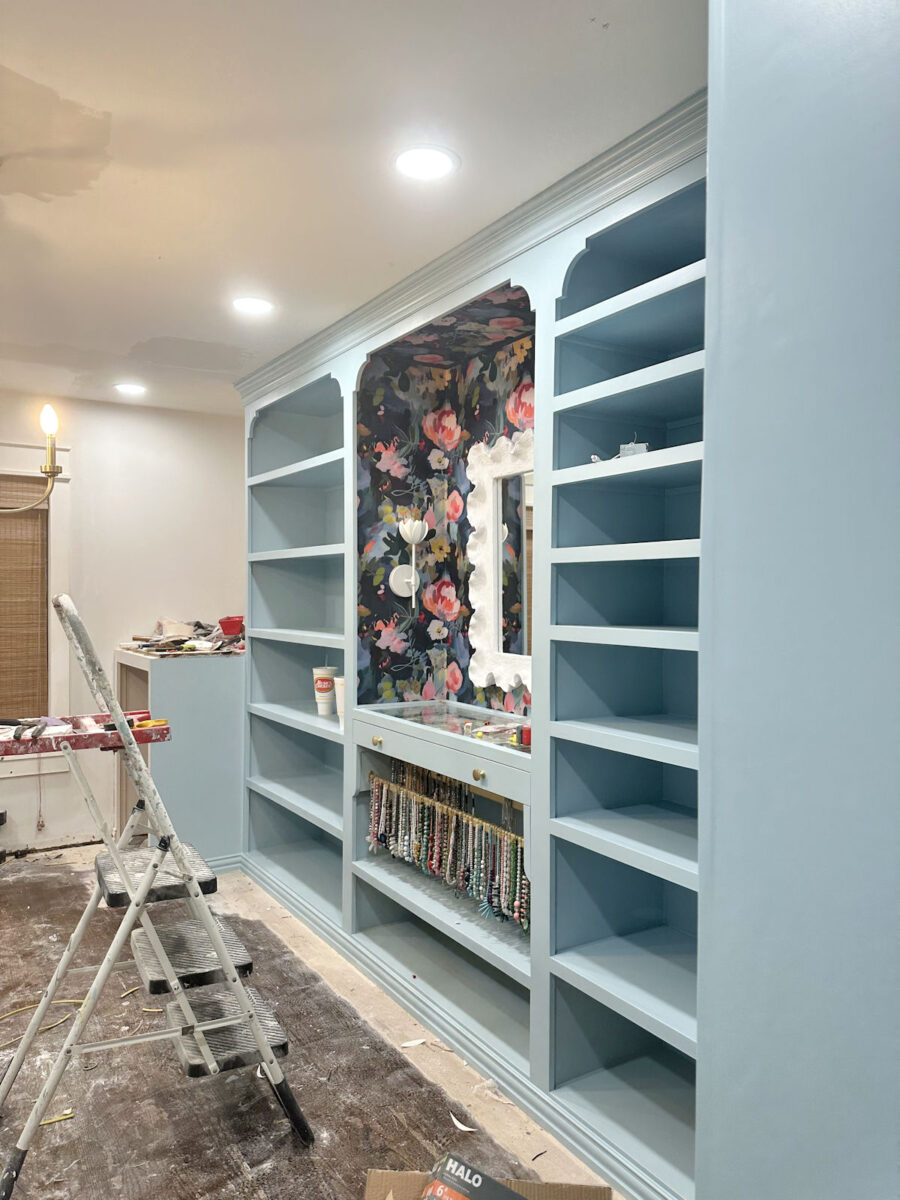
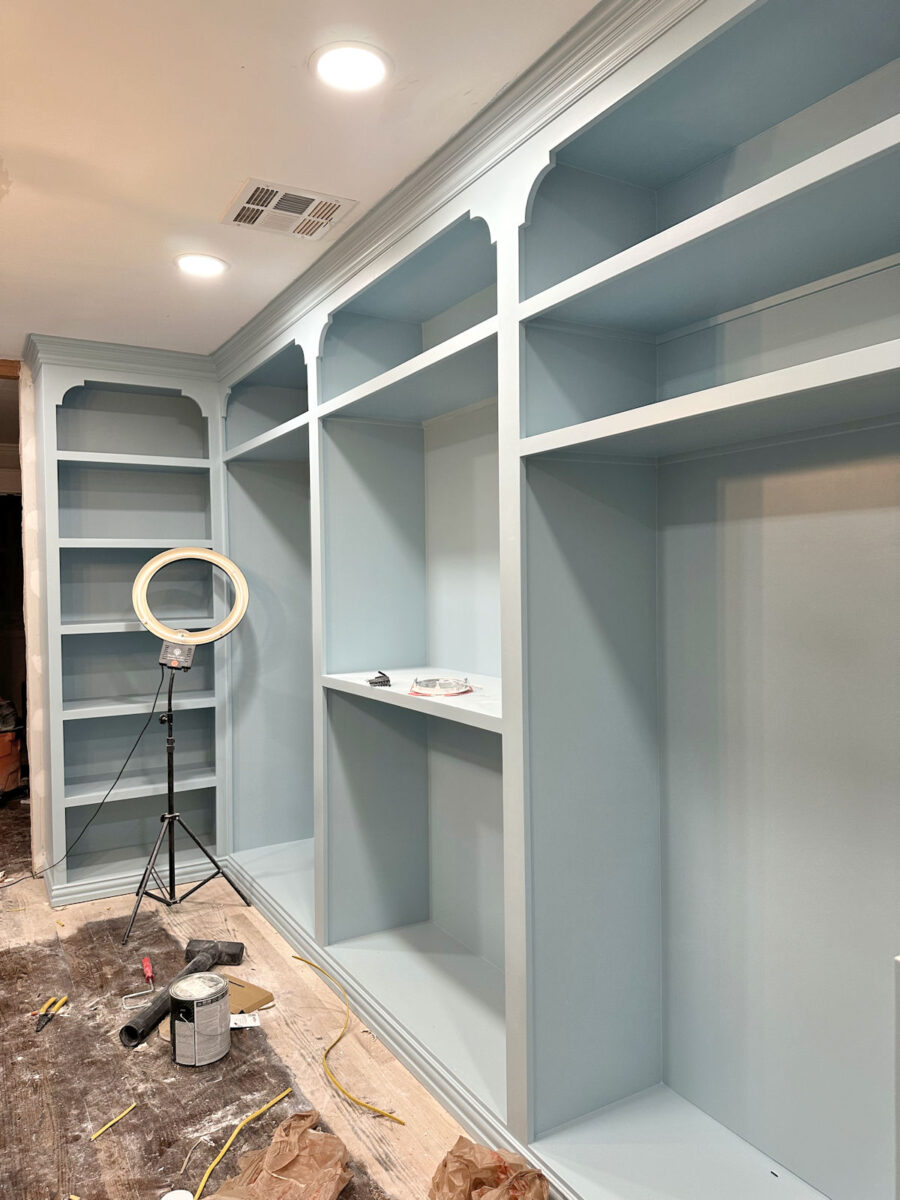
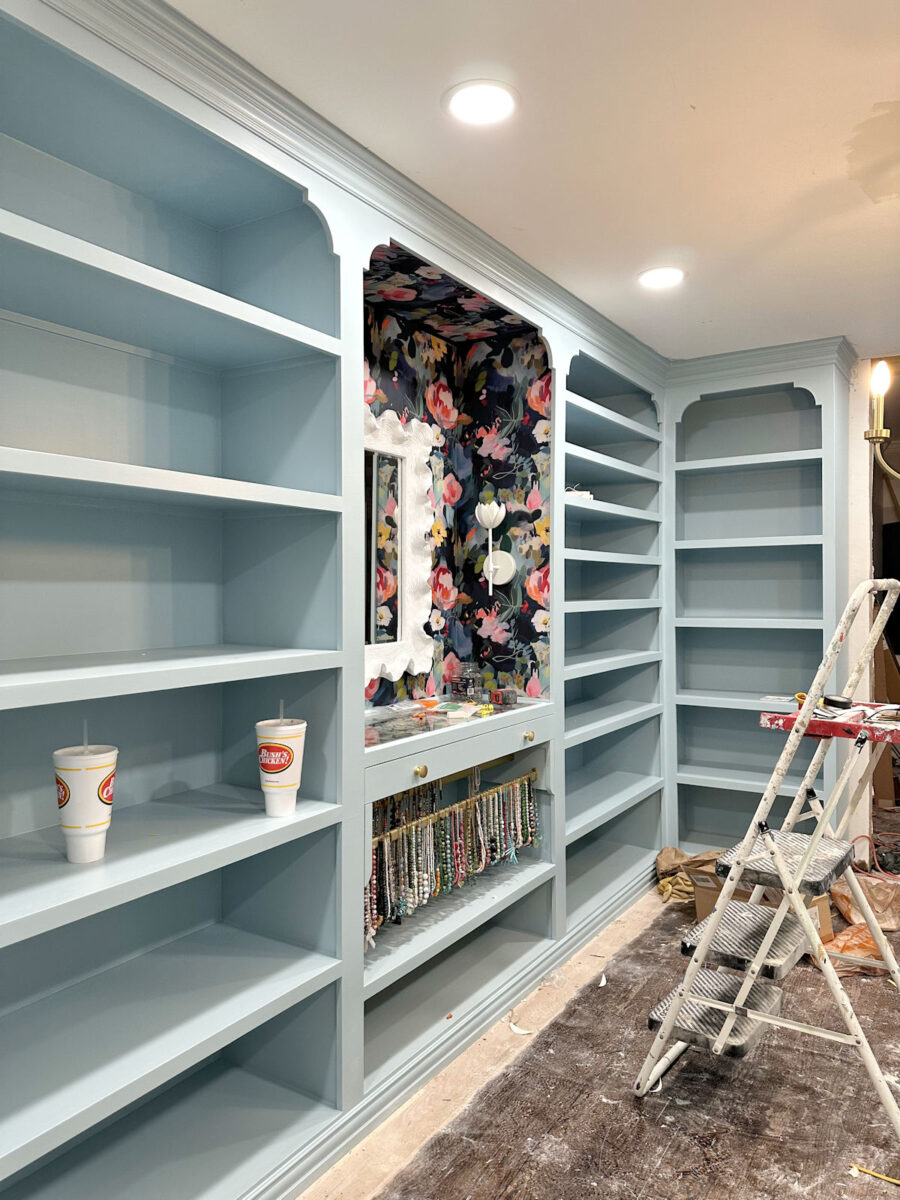
All of that took fairly a little bit of time however simply have a look at the payoff! I went from having one dim gentle to gentle this room to now having all of this gentle!
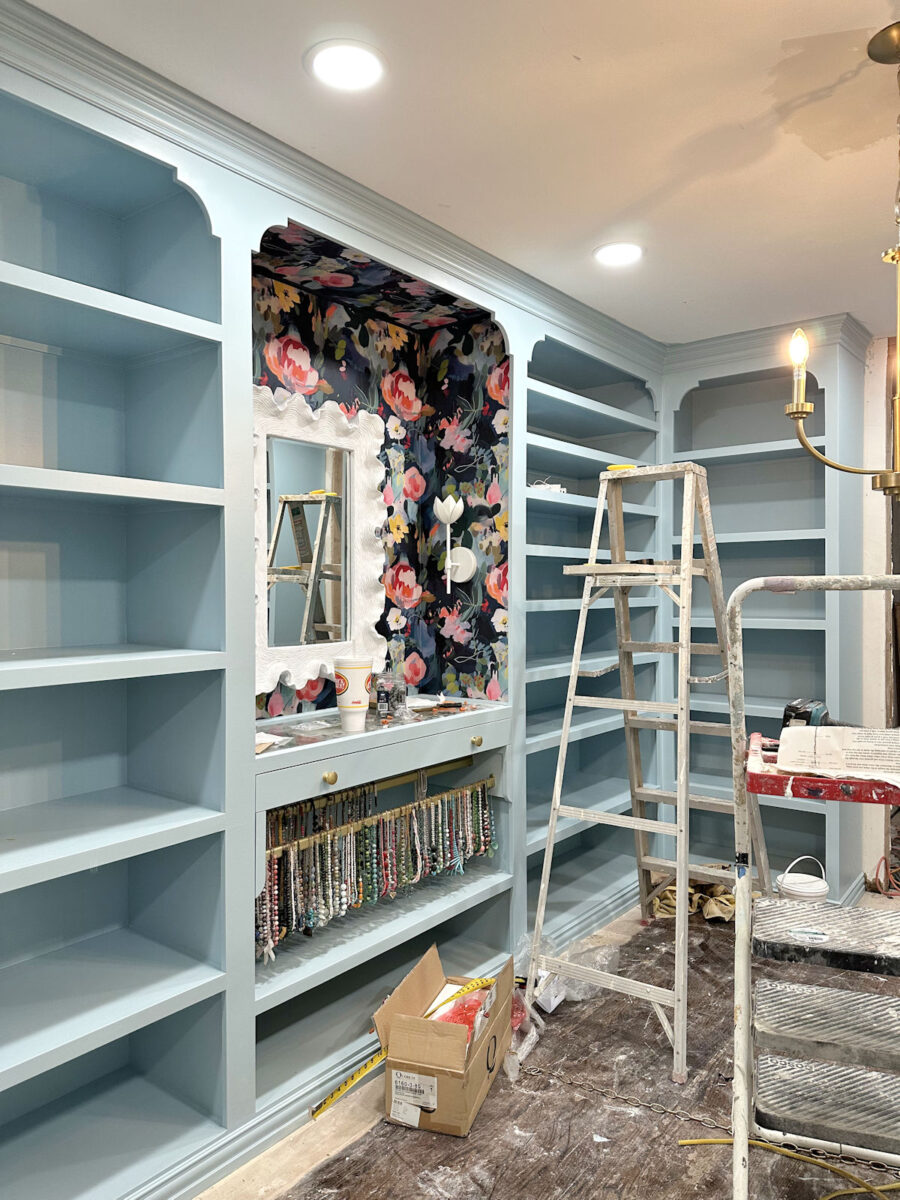
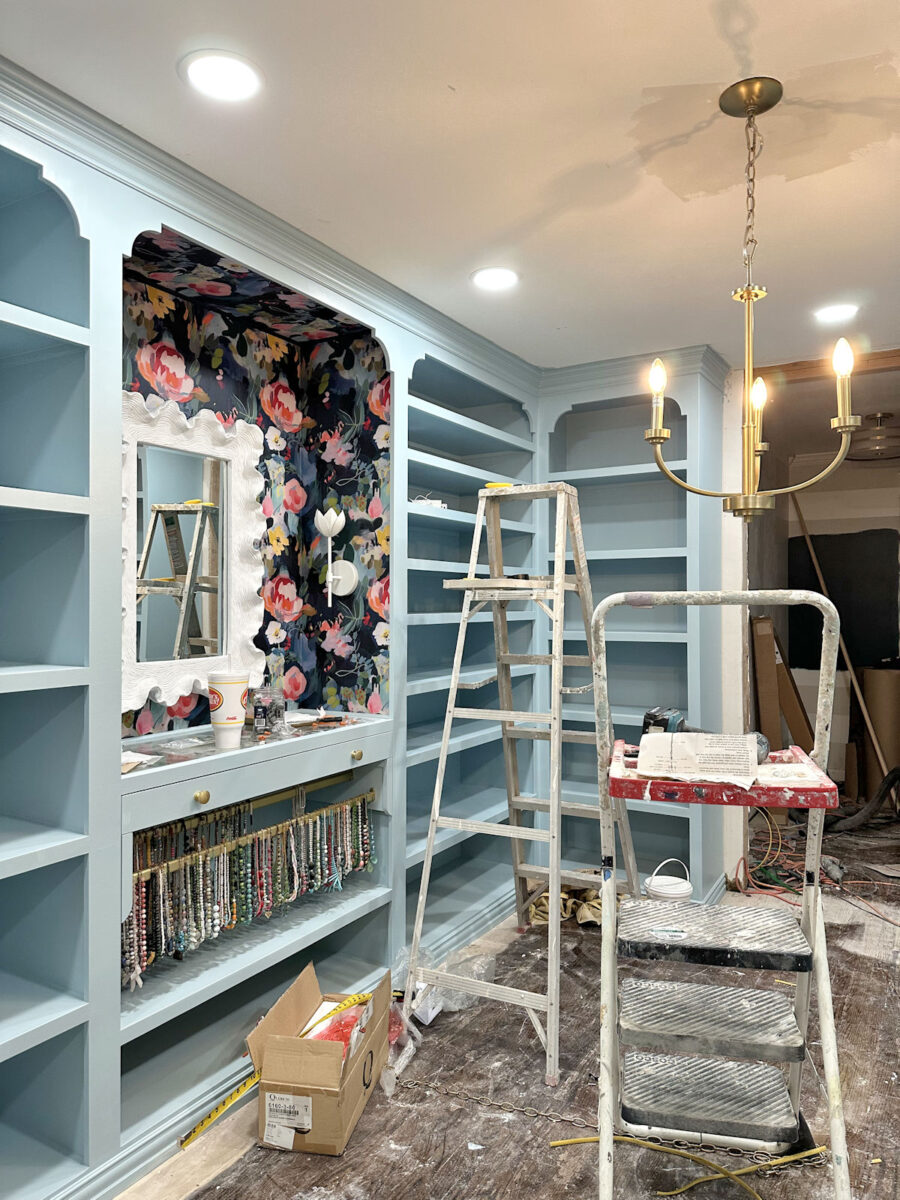
I additionally put in the middle chandelier, however don’t pay a lot consideration to that proper now. That gentle goes to get a reasonably large makeover, so it gained’t look something like that after it’s completed. And naturally, will probably be hanging over the middle island, which I nonetheless need to construct.
The sconces are on a separate dimmer change, so I can maintain these lights on as a nightlight if I need to. The entire lighting is LED, so that they don’t use a lot electrical energy in any respect.
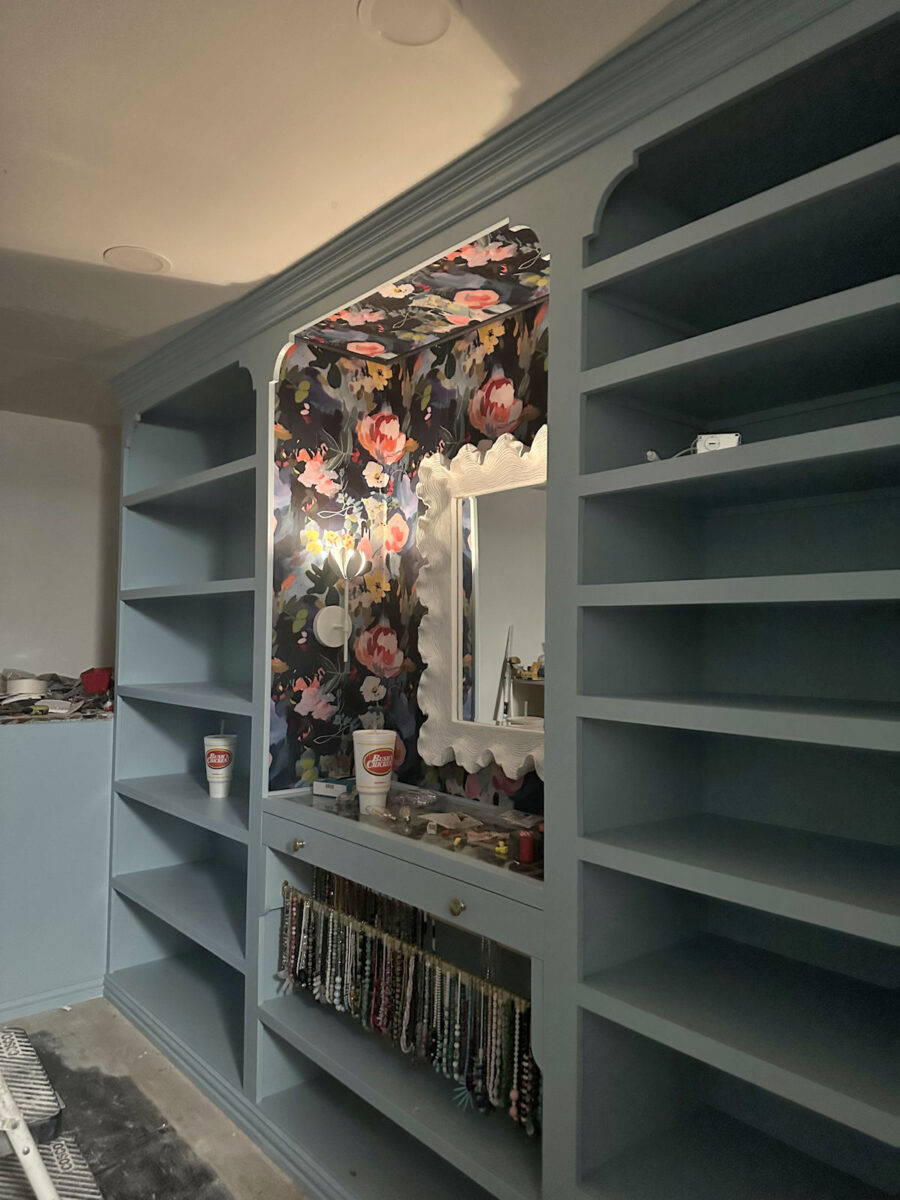
However y’all. Severely. Try all of this gentle!
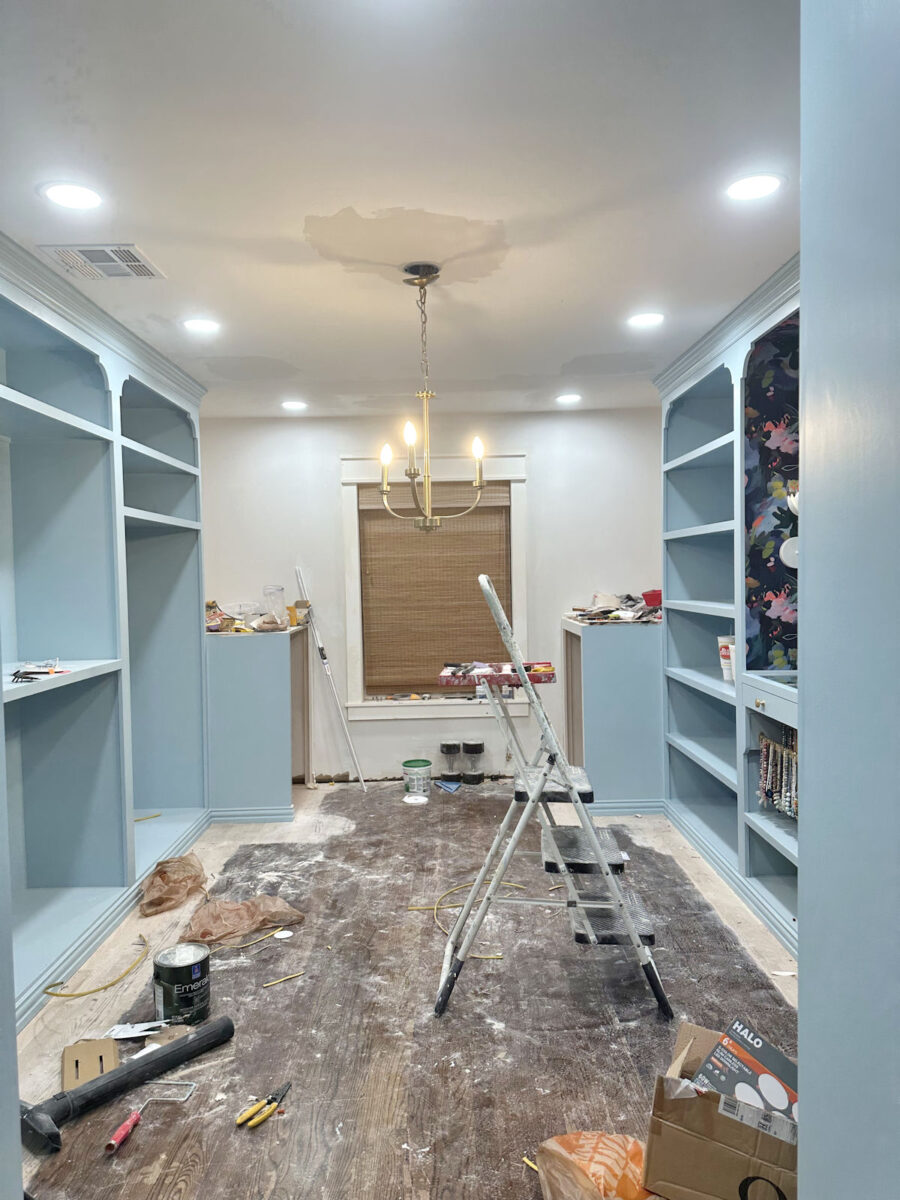
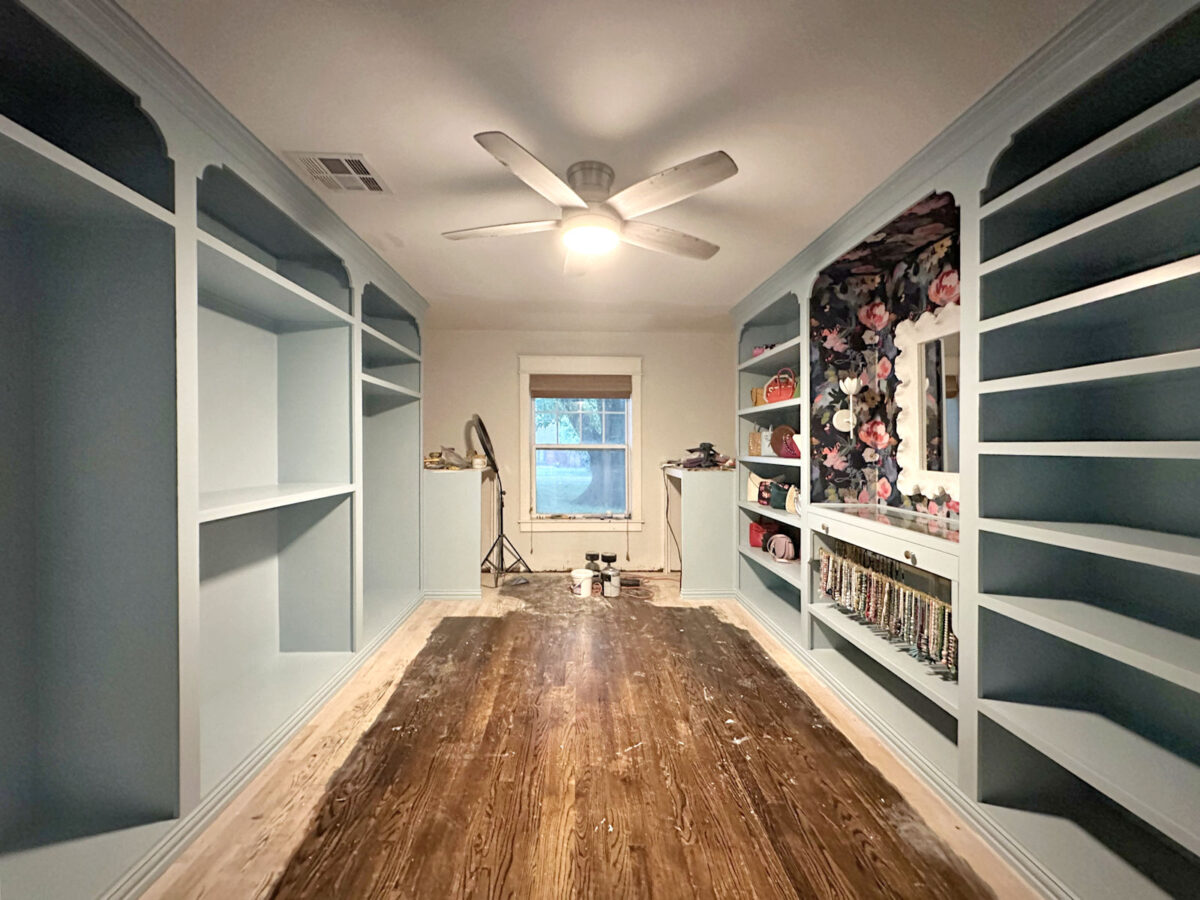
Right here’s what it used to appear like with that one terrible gentle on the ceiling fan.
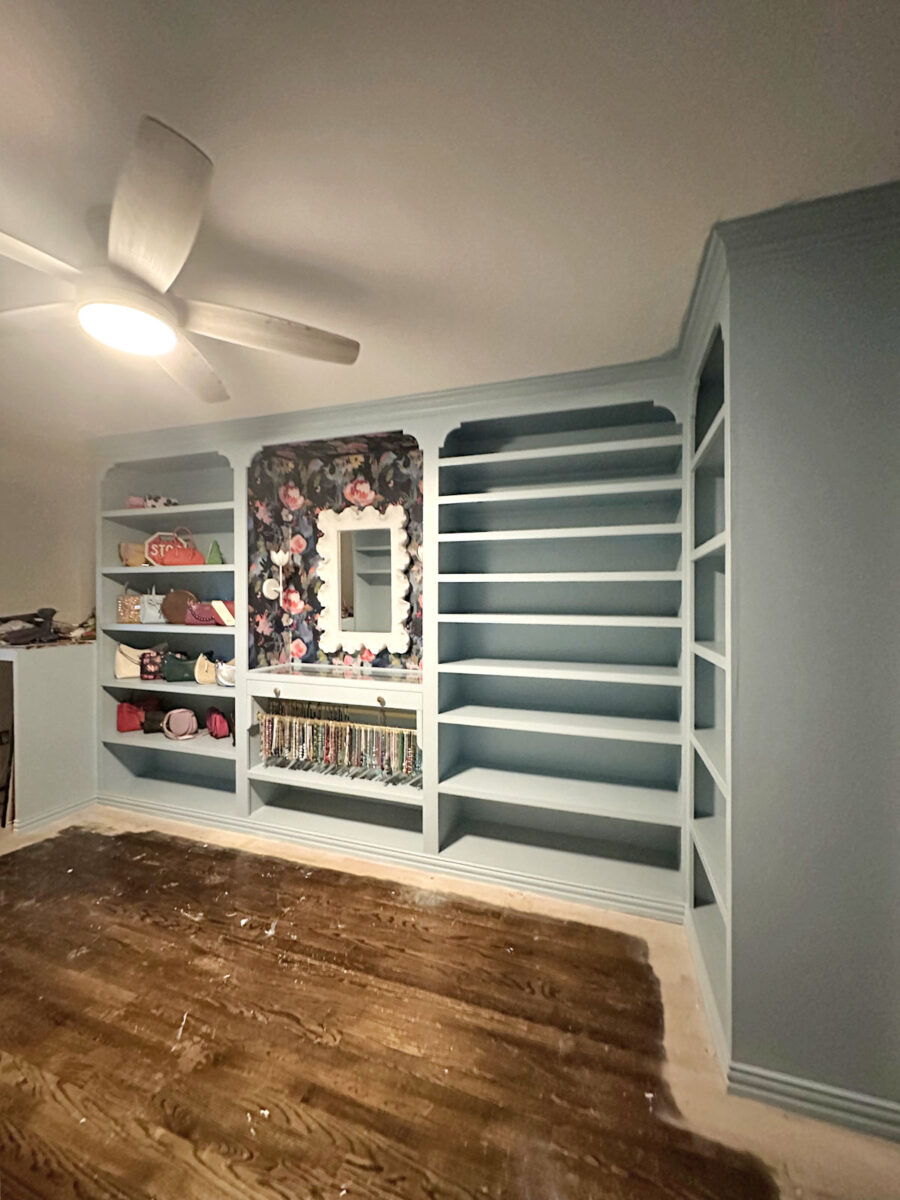
And right here’s what it appears like now…
See how the outdated gentle makes the colour of the cupboards appears so dingy?
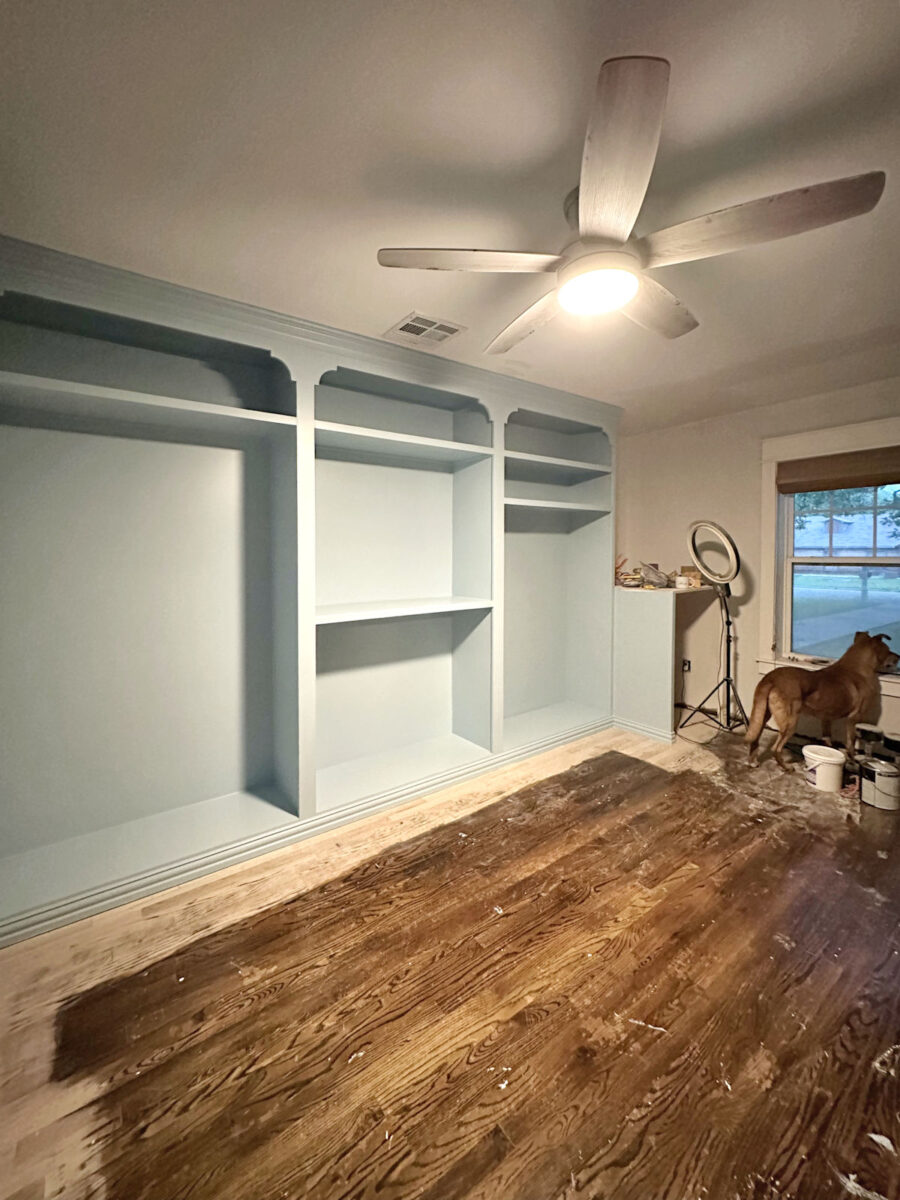
That’s why I like daylight bulbs! I can’t stand for lighting to make my fairly colours look dingy. So there’s no extra dingy shade on this room.
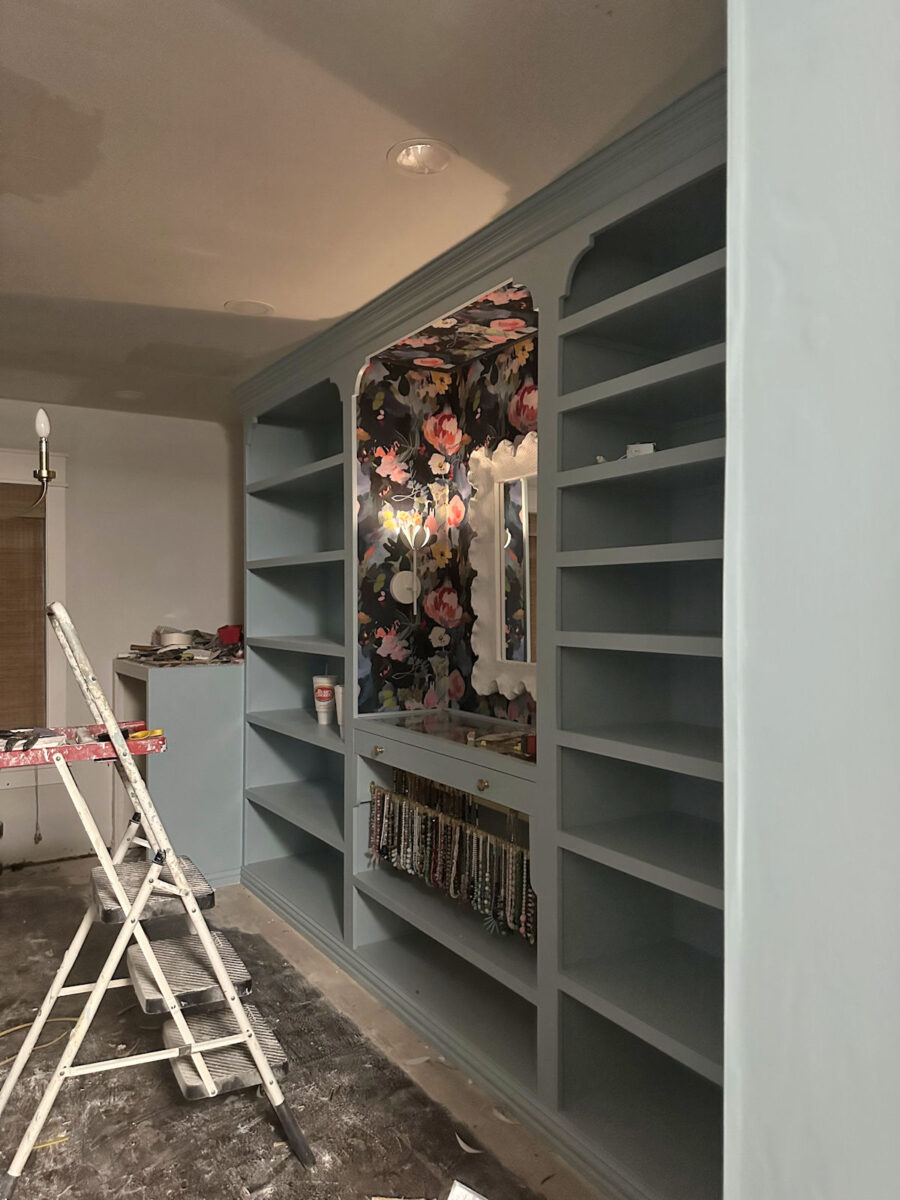
And I simply love these little flower sconces.
I had initially deliberate to wire all the lights to at least one gentle change. I’m so glad I went to the difficulty of placing these lights on a separate change.

Anyway, I can mark off yet another venture from my listing. And this was a reasonably large venture!

What a tremendous distinction good lighting makes!
Right here’s yet another have a look at the earlier than…
And right here’s the superb after with all the brand new lighting…
Subsequent up…THE FLOORS! I can’t wait to get this darkish stain off of the flooring and see what a distinction the lighter, brighter flooring will make in right here and in the remainder of the bed room suite. I’m hoping I can get to the sanding right now, however I’ve received fairly a little bit of cleansing as much as do earlier than I can hire the sander and begin sanding. We’ll see the way it goes!

Addicted 2 Adorning is the place I share my DIY and adorning journey as I rework and beautify the 1948 fixer higher that my husband, Matt, and I purchased in 2013. Matt has M.S. and is unable to do bodily work, so I do nearly all of the work on the home on my own. You can learn more about me here.
Trending Merchandise

UpCircle Rodillo de ojos 1 pieza – Para...

ESSENCE BRILLO DE LABIOS VOLUMINIZADOR WHAT T...


COSRX Advanced Snail 92 All in One Cream, 100...


